Limited Release
2026.1.2
The limited software release supports new products and features. This may require you to change your configuration. If you don’t need those features, check out the Production Release instead.
See More Below
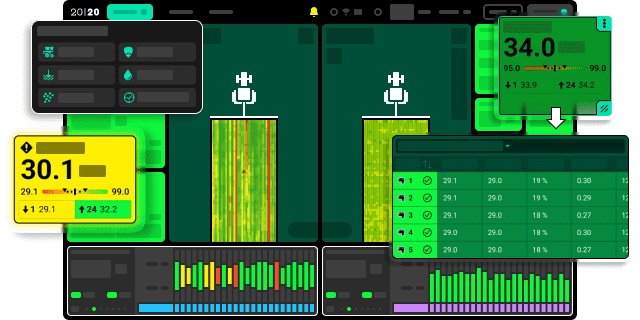
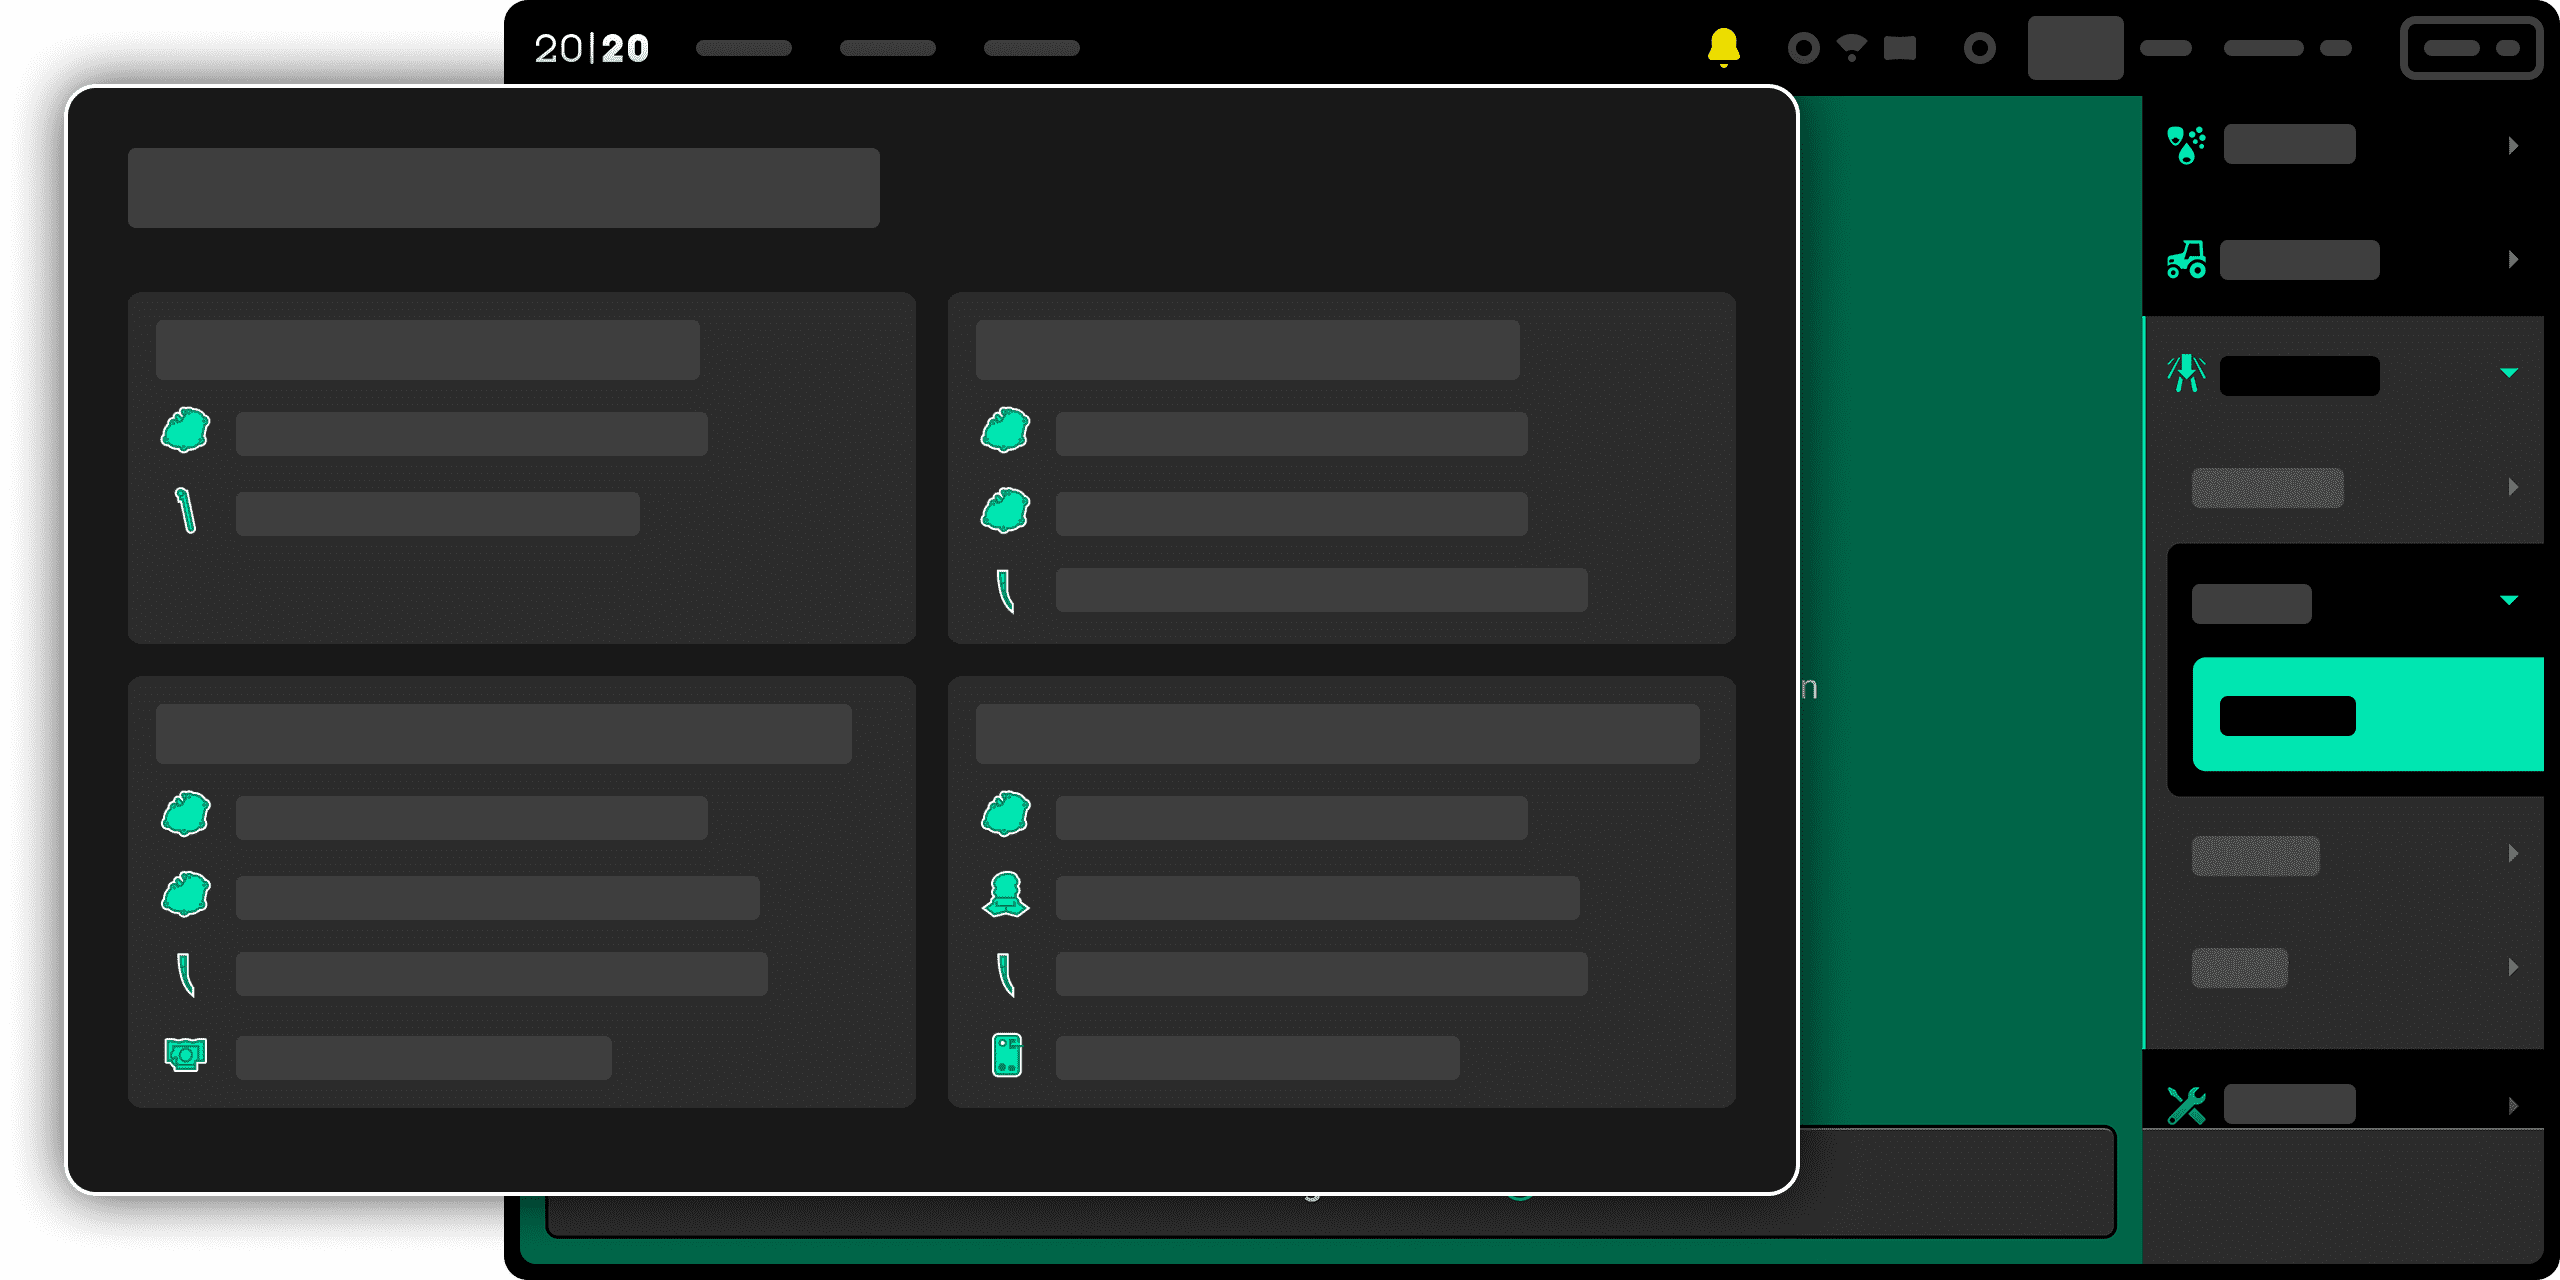
Updated Home Screen
Introducing our biggest update to the 20|20 home screen. A fresh new look, more capabilities, yet instantly familiar.
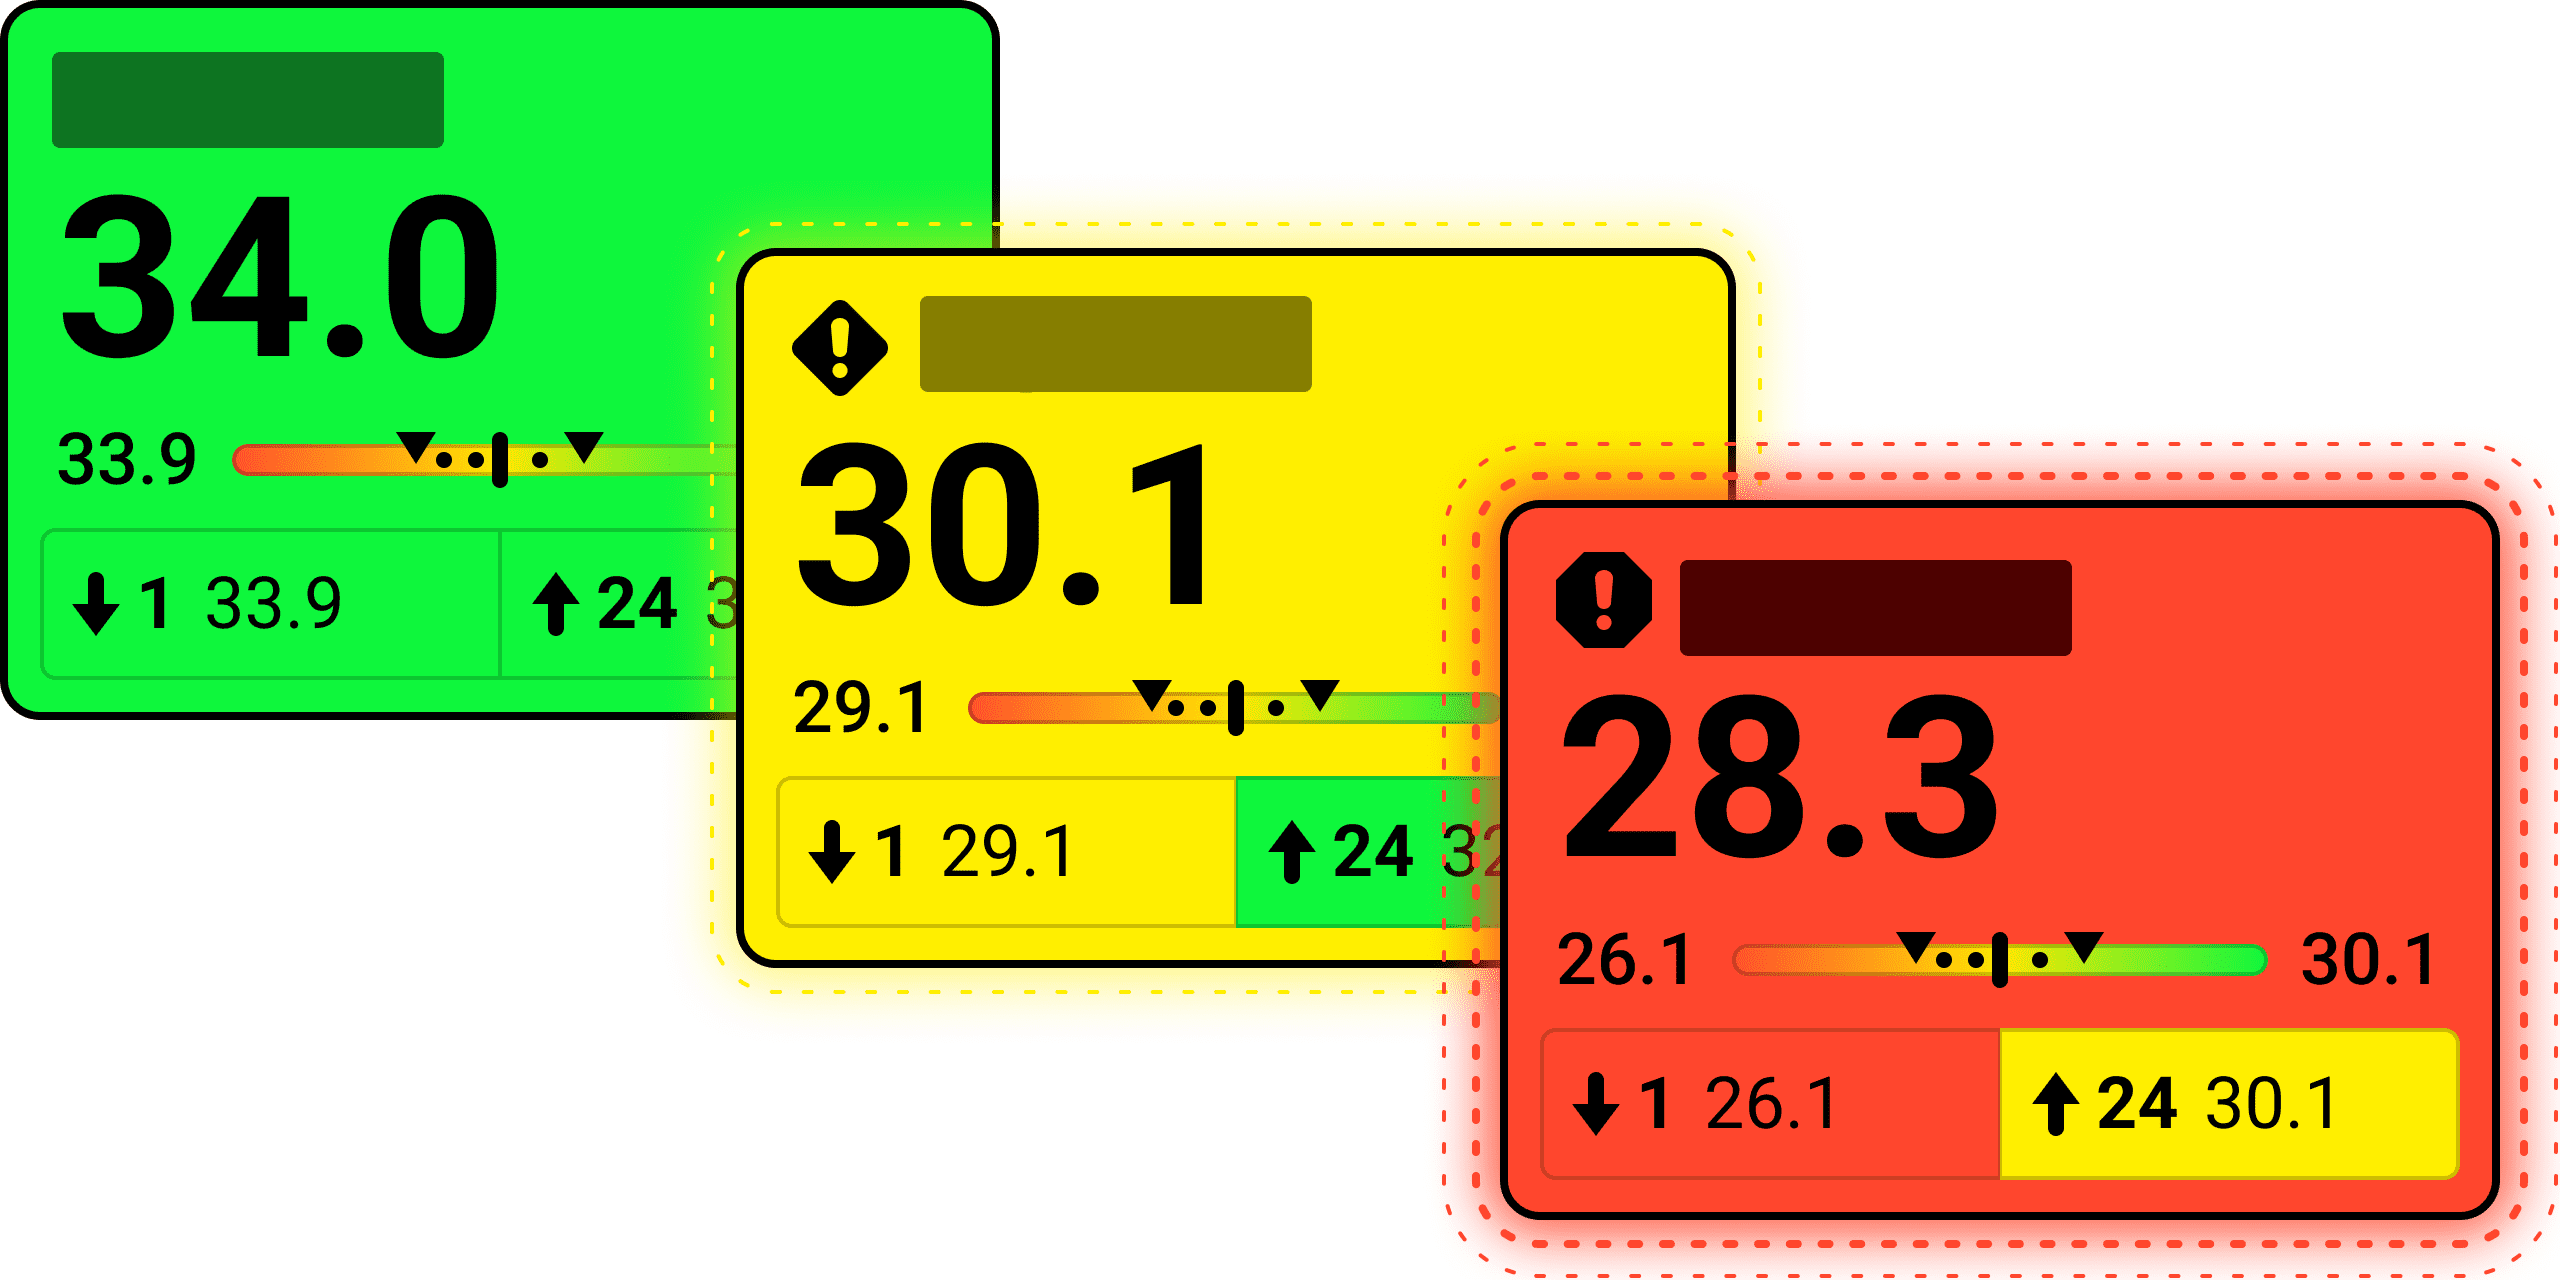
Visual Alert Feedback
Spot widget alerts faster with at-a-glance icons and with a new alert menu in the status bar.
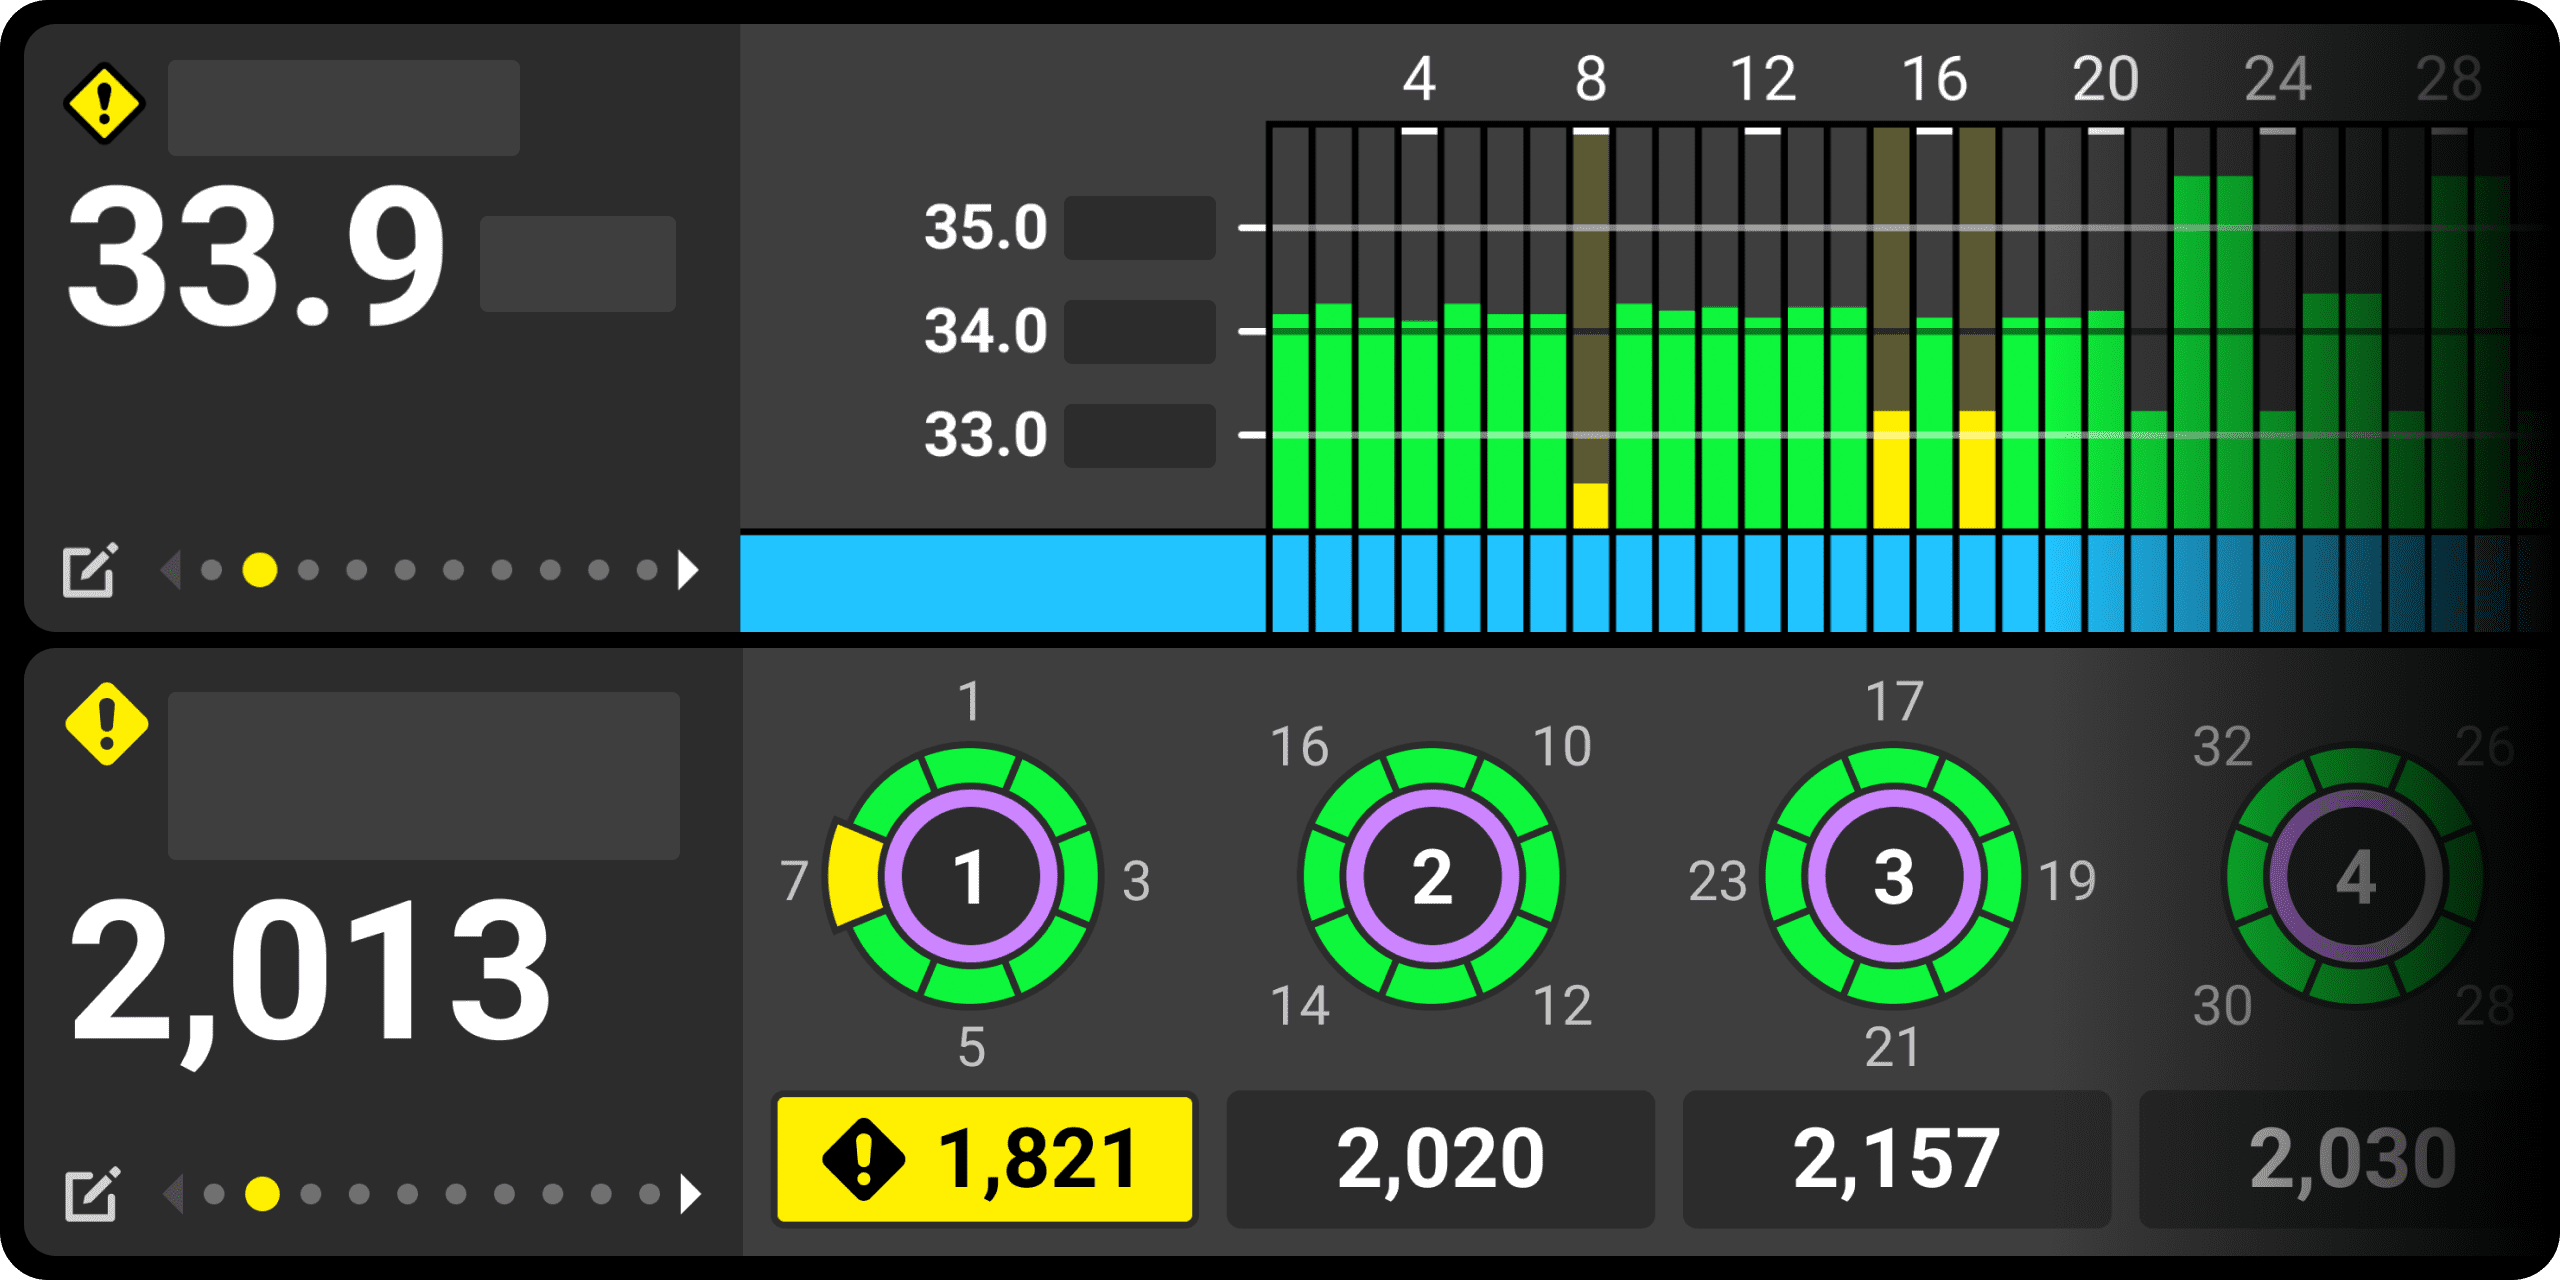
Charts optimized and multiplied
Add multiple charts to your home screen or see granular data by BXM. View the data you need, where you need it.
Crop Settings
Switch between crops instantly with settings saved for each. A new crop settings icon also makes it easy to spot crop-specific configurations.
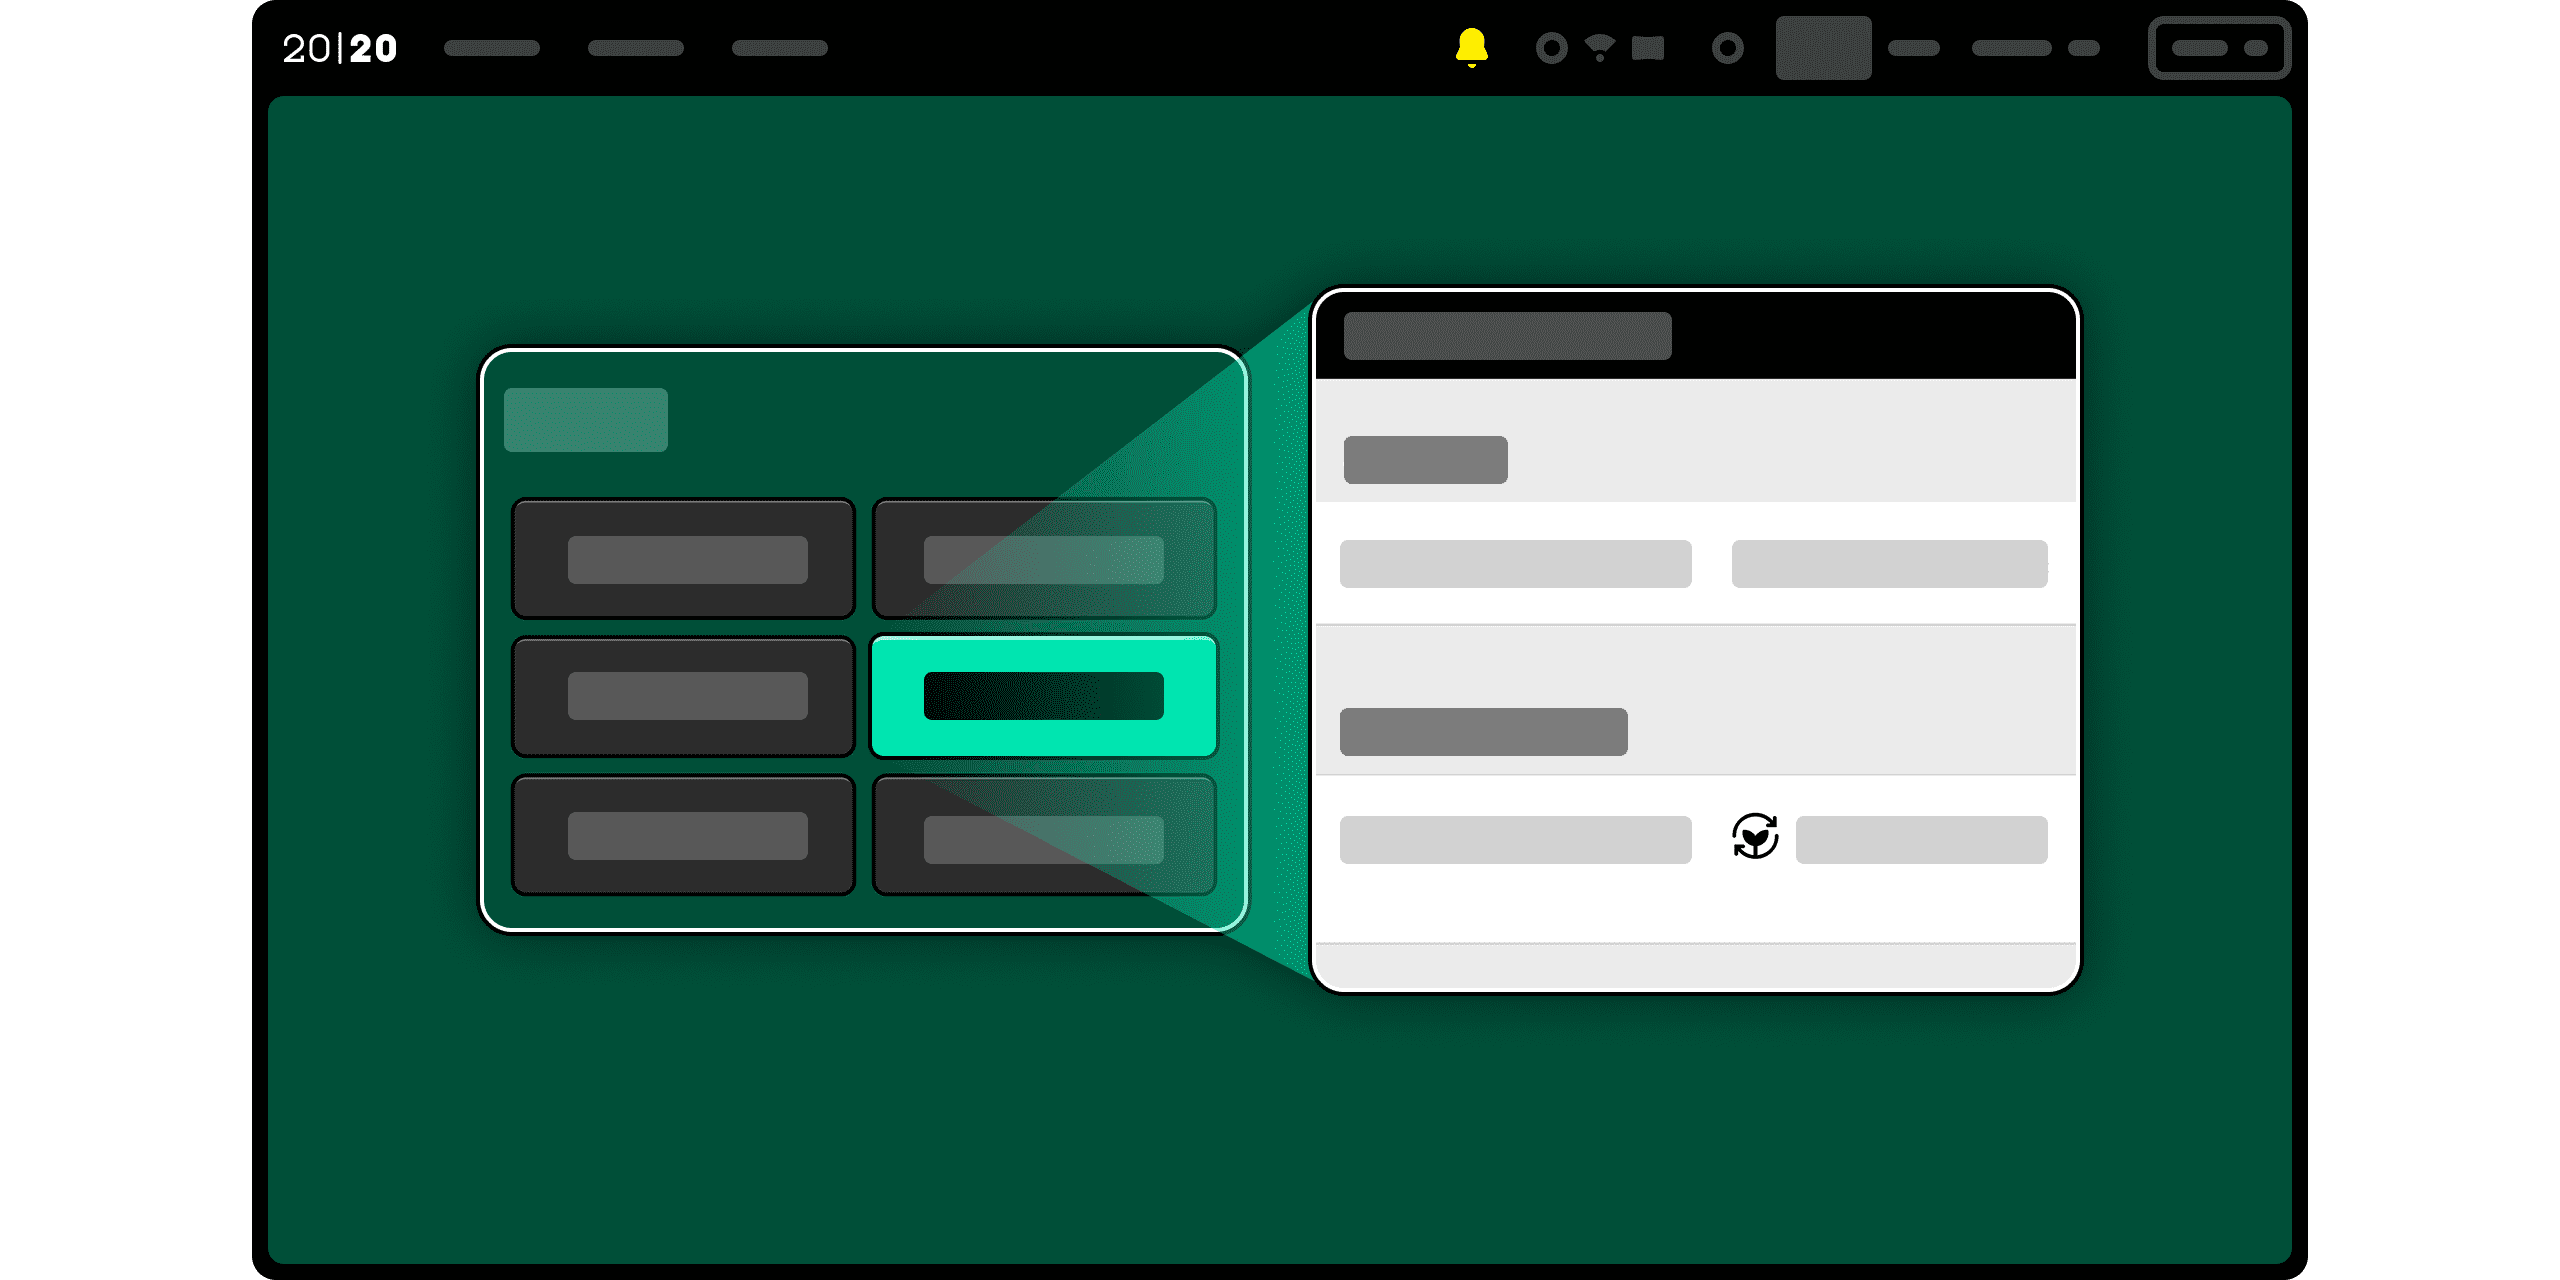
Add New Hardware Simply and Quickly
Setup hardware faster by selecting from a list of pre-defined hardware collections and add them to your 20|20.

Panorama and 20|20 LiveStream
Away from the cab but want to make a change? Using Panorama, LiveStream to the 20|20 and edit from afar. Have multiple 20|20s in the field and want to see how things are going or make a change? Using Panorama, LiveStream from one 20|20 to another 20|20 to view or edit from the comfort of your cab.
Before You Update
- You must update to a 2026.0 production release if you are on a software version older than 2026.0.0
- You will not be able to downgrade to versions older than 2026.0.0