Soil Sensing
Learn how to set up and use your soil sensing system.
Updated February 8, 2022
Soil Sensing systems let you know about the kind of soil you’re putting your seeds into. It can work in tandem with other systems, like Depth, to ensure that seeds are being placed in the conditions that you intend.
Table of Contents
Set Up a Soil Sensing System
Set up your Soil Sensing system the same way you would other new systems:
-
In the Equipment setup menu, add a new Soil Sensing system.
- Tap Add System in the sidebar.
- Select Soil Sensing in the popup.
- Tap the Soil Sensing System input at the top of the page.
- Select SmartFirmer.
-
In the Systems setup menu, add all hardware associated with the system you just created.
- In the Systems menu sidebar, tap Soil Sensing.
- Press the Add Hardware button at the bottom of the page.
- Select SmartFirmer.
- Select the rows where you have installed SmartFirmer modules.
-
Still in the same Systems setup menu, configure any settings that apply to the system as a whole.
- Decide which rows should be active for this system (Active Rows).
-
In the Diagnose menu, make sure that everything is green.
- If not, troubleshoot using the usual color coding and other more system-specific diagnose information (discussed below).
Operate the Soil Sensing System
The Soil Sensing system is not used to control the implement directly. Instead, it is used in tandem with other systems, like Depth. Please see articles on those systems for how to integrate SmartFirmer sensing with them.
Monitor System Performance
Add Metrics Widgets to the Home Screen
To keep an eye on how your Soil Sensing system is performing, you may want to add some metrics widgets to your home screen. The following widgets are available in tall, wide, large, and extra-large sizes:
- CEC (Cation Exchange Capacity)
- Clean Furrow
- Furrow Moisture
- Organic Matter
- Soil Temperature
- Uniform Furrow
Additionally, you can configure your Dashboard Mini-Chart to show you these metrics on a row-by-row basis, either all the time or on a rotating basis (swapping out other metrics at a regular interval).
Set Up Alerts and Failure Warnings
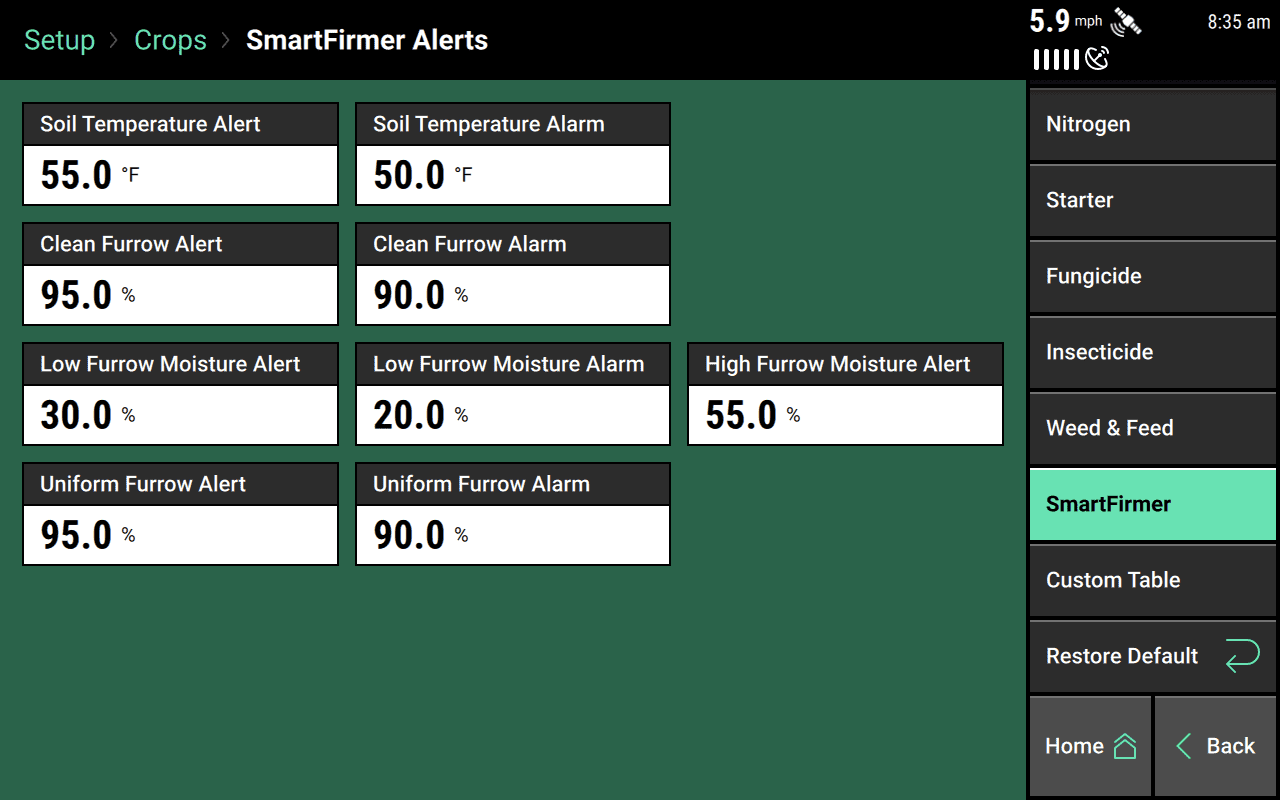
You can set up your 20|20 to notify you if soil temperature, clean furrow, furrow moisture, or uniform furrow metrics ever fall outside the ranges that you want. Go to the Crops setup menu, then tap SmartFirmer in the sidebar. You should see a page like the one below. Press on any of the input boxes to adjust the limits.
Diagnose Soil Sensing
To find the SmartFirmer diagnose page, go to the Diagnose menu and tap SmartFirmer in the sidebar.
Once on the diagnose page, you should see some metrics that won’t mean much to you in themselves:
- Blue
- Yellow
- IR A
- IR B
- IR C
You only need to worry about these if they fall outside the 20|20’s expected range and turn yellow or red. In that case, you should examine the SmartFirmer modules to determine if there are