Swath Control Settings
Learn how to use the 20|20 to turn rows on and off automatically based on previous coverage and field boundaries.
Updated February 14, 2023
Swath settings determine how your 20|20 should turn rows on and off when controlling the implement. You can have the 20|20 swath automatically, or you can control the swathing yourself. You can also switch easily between the two modes whenever you like.
This article will cover all settings related to swath control on the 20|20, bringing together settings that appear in different places to help you see how they relate to each other.
A note on vocabulary — Sometimes, you may see the terms “swath on” and “swath off” used to refer to the act of turning rows on or off.
Table of Contents
Use Manual Swath Mode
If you want complete control over what your implement is doing, you can use the 20|20's manual swath mode to turn rows on and off individually.
You have two choices for how to do this:
- Use the swath control page.
- Use one of the swath mini-charts.
The main difference between these two options is how they display the rows, whether as individual buttons or in chart format. Both work in essentially the same way: You tap on specific rows to toggle them off (yellow) or on (gray).
You don't have to do anything special to enable manual swath control. Just tapping a row will automatically switch your system to manual mode, even if you were previously in automatic
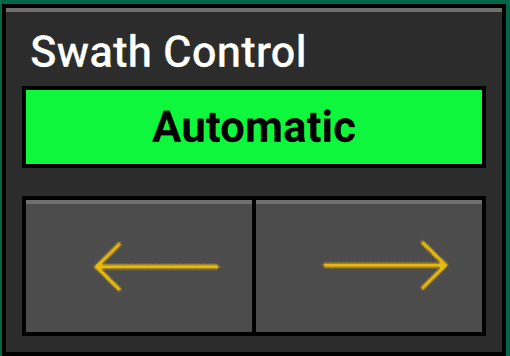
Additionally, you can find arrows on most control screens at the bottom of the page that adjust the edges of the implement. Repeatedly pressing the left arrow on the right side, for example, turns off rows on the right side, one by one, from the outside in. Pressing the right arrow on the same side will restore them and turn them back on. Watch the video below to see this in action.
You can also add a large or extra-large swath control widget to your home screen to get quick access to these buttons.
Find the Swath Control Page
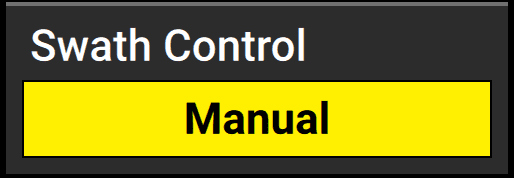
To get to the Swath Control page, tap the Swath Control widget on your home screen.
Alternatively, you can tap on any metrics widget to get to the Metrics Dashboard, where Swath Control is available at the bottom of the sidebar.
Find a Swath Mini-Chart
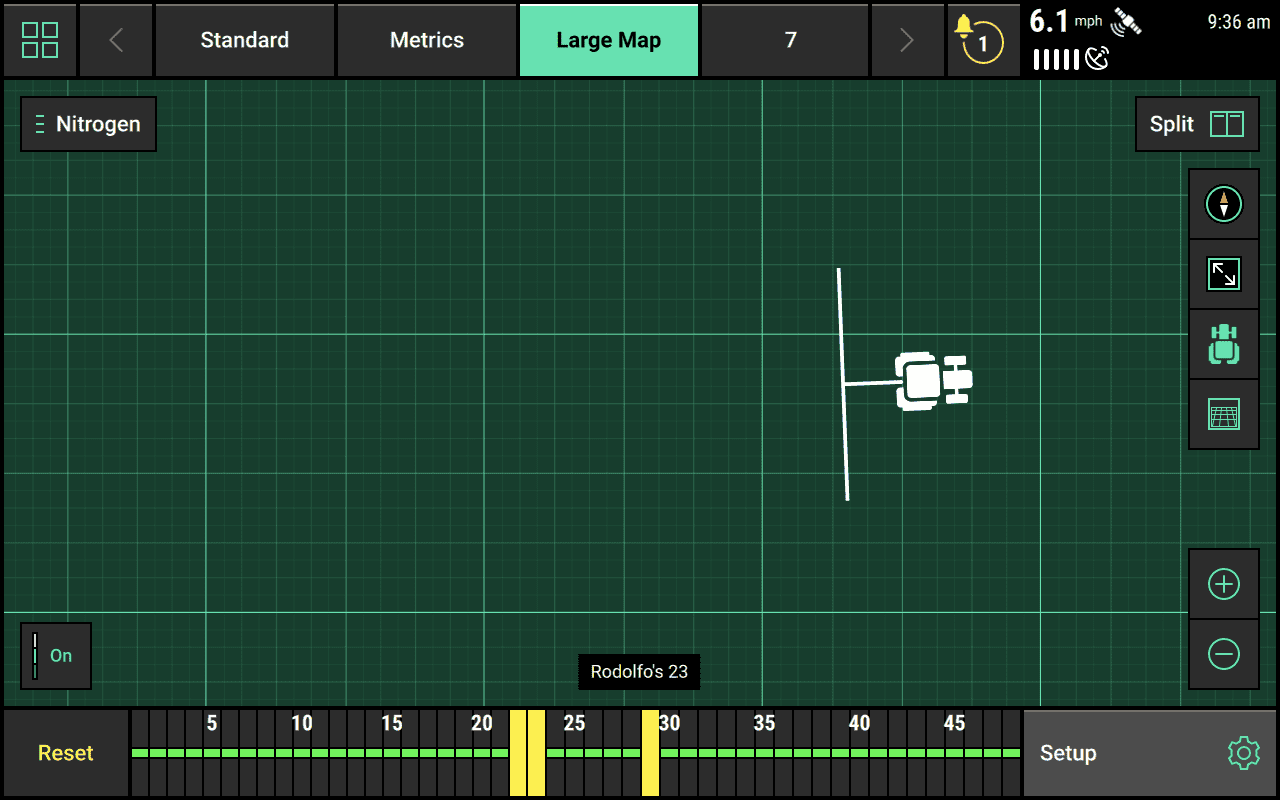
Every system control page has a mini-chart at the bottom that you can use to adjust your swath settings.
These swath control charts are not system specific, even though they appear on individual system pages. Turning a row off here will turn it off for all systems.
If you'd prefer not to have to leave your home screen, you can also add a swath mini-chart to your home screen as a "Dashboard Minichart"-style widget.

Use Automatic Swath Mode
To get the most out of your 20|20's capabilities, you can turn on its automatic swath mode to let it decide when to turn rows on and off based on field boundaries, headlands, and previous coverage.
To turn on automatic swath mode, go to the Swath Control page and tap Swath Automatic at the bottom. Alternatively, you can press the Reset button on the swath mini-chart widget on your home screen, as shown below.
Before doing that in the field, though, you'll want to make sure you have a few things configured:
- Swath Sections
- Coverage Pattern
- Boundaries
- Simulated Headlands (if applicable)
Configure Swath Sections
So far, we've been talking as though the 20|20 simply turns rows on and off. But actually what it turns off are sections of your implement called Swath Sections. Although these swath sections can be individual rows, they can also be groups of rows treated as collective units.
Most commonly, people use this feature to make the edges of the implement less sensitive to turning off when they get near previous coverage. But you can also set it up so that your whole implement is one swath section that goes on and off as a single unit.
There is no limit to the number of rows that can be combined into a swath section. The only rule is that they have to be continuous (you cannot turn off rows 2 and 5 as a single unit while leaving 3 and 4 on — to do that, you must use manual swath control).
To configure swath sections, go to the Systems setup menu, then press the Control Style input box in the lower left. This will bring up a popup with three four options:
- Disabled — the default, leaves the 20|20 unable to turn rows on or off
- Single — the normal active setting, turns off each row as normal when it starts to overlap previous coverage
- Dual Ends — an end-row compensation, on each side of the implement, this setting combines the two outer rows into a swath section that turns off when the second row starts to overlap previous coverage
- Custom — takes you to a new page where you can configure any combination of sections you want
If you’re setting custom swath sections, you should do two things:
- Decide the total number of swath sections you want. Press the Number of Sections input in the top right of the custom Swath Sections page, and select the value you want (including a custom value, if necessary).
- Then as many sections as you chose will appear below. For each one, use the up and down arrows to adjust the Number of Rows assigned to it. You will see the final results visualized in a chart in the middle of the page.

Configure Coverage Pattern Settings
For seeding systems, there are a couple settings that affect swath behavior, particularly near headlands.
To configure them, go to the Systems setup page, select Seeding in the sidebar, and then tap on the Coverage Pattern box on the right.
Set Seeding Offset
If you want to make harvesting easier by leaving a gap between the end of your pass and your headlands, you can set a Row Offset on the Seeding system setup page.
This will take you to a page where you can tell the 20|20 to leave a gap (offset) of 1/2 row, 1 row, or a custom amount. Select from the options on the left, and the image in the center will help you visualize the results.
Set Coverage
If you have swath sections set to anything other than Single or Disabled, then you will also need to configure your coverage pattern.
This setting tells the 20|20 how to decide whether the swath section has entered a headland. If the headland isn’t perpendicular to your pass, then one row in the section will enter the headland before the other. Should the 20|20 wait until all rows in the section get to the headland to stop planting (Over-Plant in some rows)? Should it stop as soon as any row hits the headland (Under-Plant in some rows)? Or should it try to split the difference (50%-50%). Select one of these three settings on the right side of the Coverage Pattern setup page.
Remember that this setting doesn’t apply to you if you are using a Single, row-by-row swath control style. In that case, these options will be greyed out and you won’t be able to select one.
Add Field Boundaries
To make sure your implement stops planting at the edges of your field or in sections of your field that shouldn't be planted (like waterways), you can configure the field's boundaries.
To do this, you have two options:
- Import an existing boundary file through the Data setup menu and assign it to your field in the Field Setup menu.
- Create a new boundary with the Boundary Recorder, which is a tool in the 20|20 that lets you drive around your field to create a map of where the field boundaries lie. To access the Boundary Recorder, you can use the Boundary Recorder widget on your home screen, or you can access the Advanced Swath Tools via the Seeding control page.
You can add external boundaries around your field as well as internal boundaries around features of your field that you want to ignore when applying product.
Add Simulated Headlands
If you plant your headlands last instead of first, you may still want your 20|20 to leave room for them and stop applying whenever it crosses into the space where they will be. Conveniently, if you have field boundaries already saved, you can have the 20|20 simulate headlands by pressing the Simulated Headlands widget and then pressing the Create buttons on the right side of the page.

Set Your Swath Control Plan to Ignore or Include Specific Swath Settings
Just because you've added a boundary file or another swath setting to your field doesn't mean you always want your 20|20 to use it. To configure which settings the 20|20 will use when controlling your implement, you can set the Swath Control Plan via the sidebar on the Seeding control page.
This will bring up a popup with four features that you can turn on and off as needed:
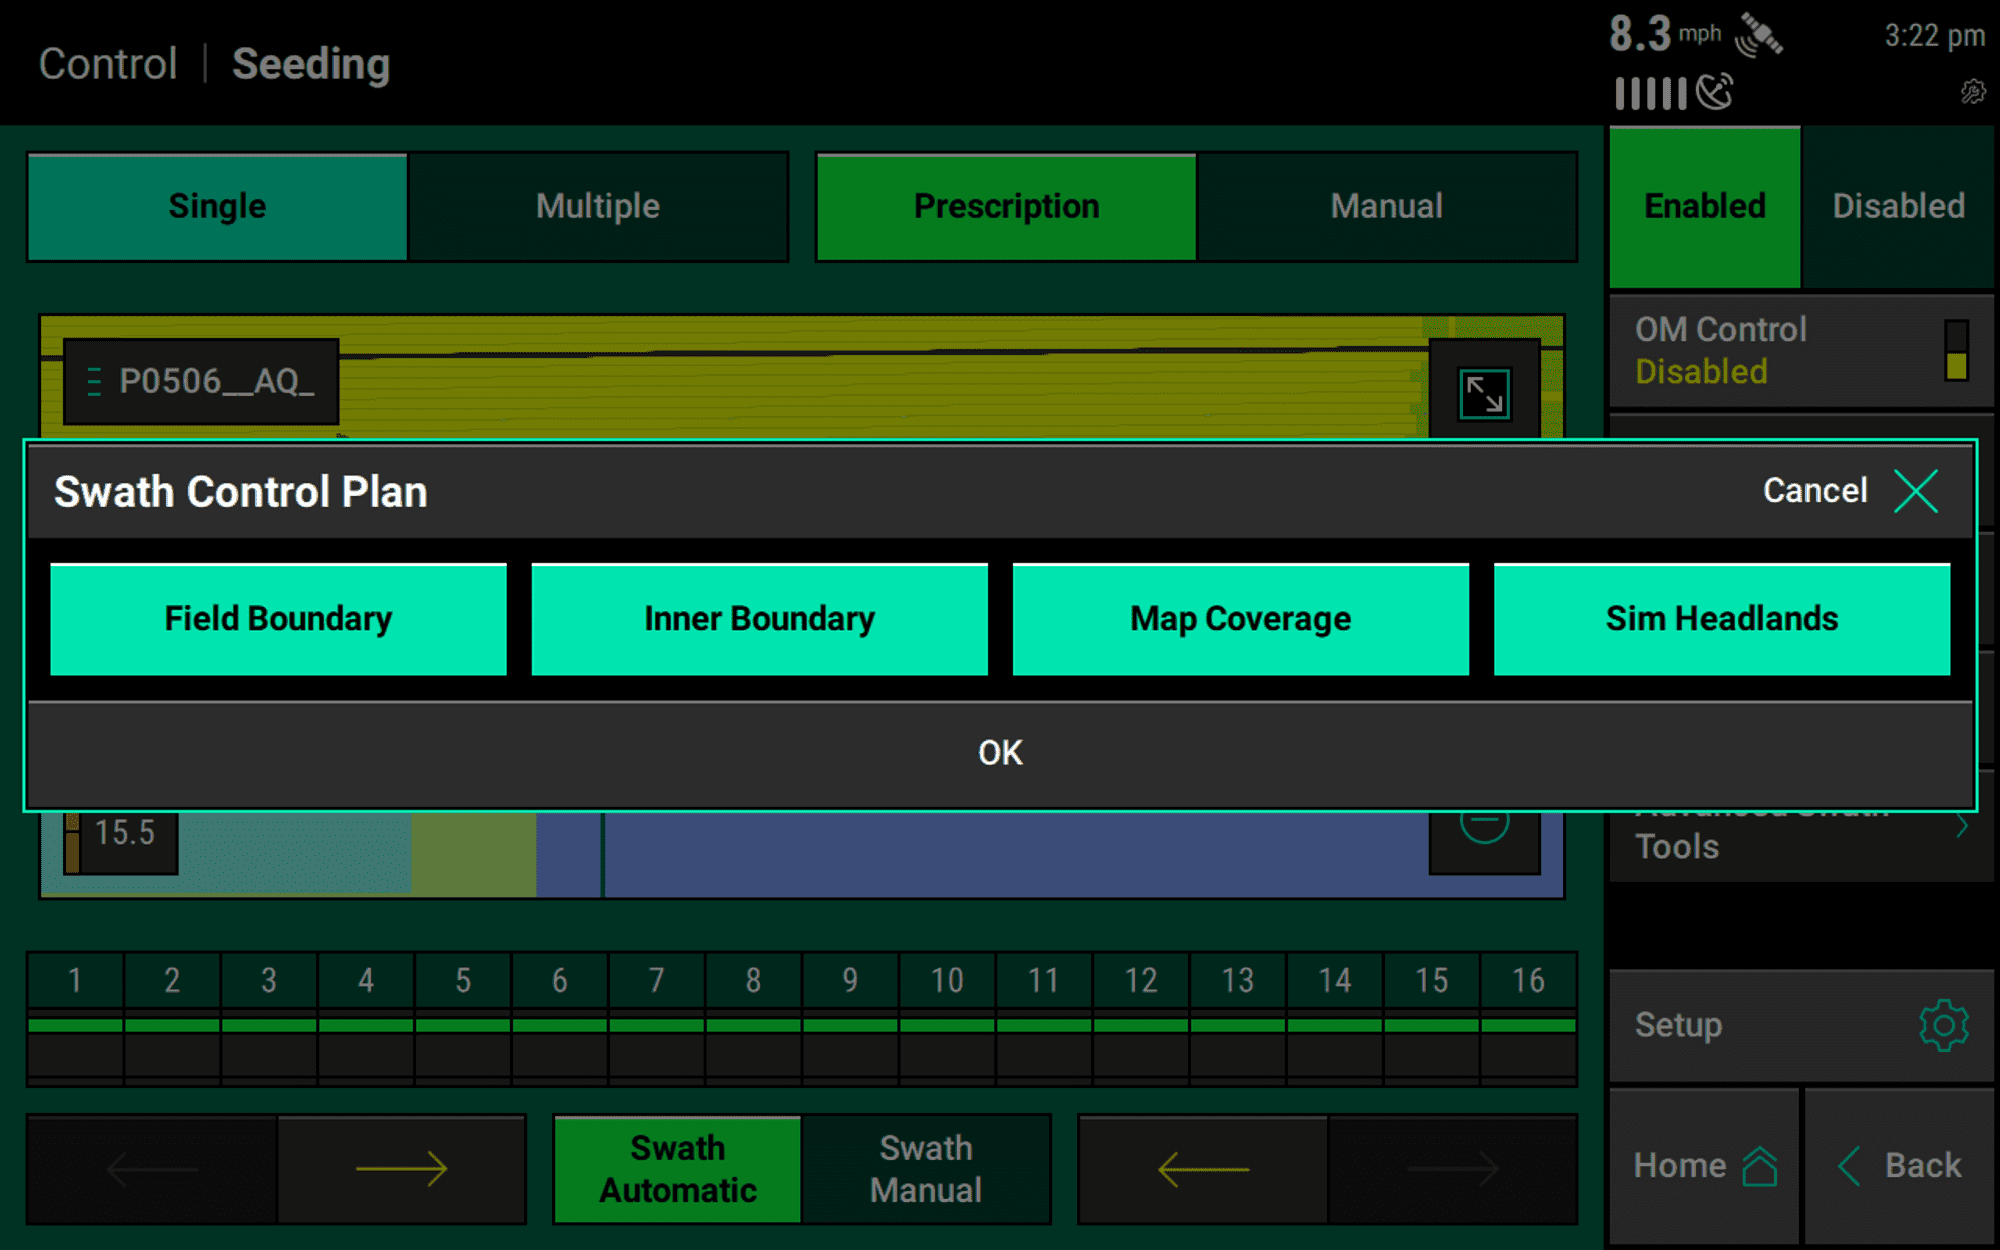
- External Boundaries: stop applying at the outside edge of your field as determined by your active boundary file
- Internal Boundaries: stop applying when entering parts of the field inside the external boundaries that are intentionally excluded from coverage by the active boundary file
- Map Coverage: stop applying when crossing into areas where the 20|20 knows you have already applied
- Sim Headlands: stop applying when you reach a buffer region (specified by you, see above) near the boundaries (internal or external) to leave room for a later headland pass