Install 20|20 Monitor in Cab
Find what you need to install your 20|20 monitor in the cab. Use the five-step process for simple installation.
Updated June 29, 2020
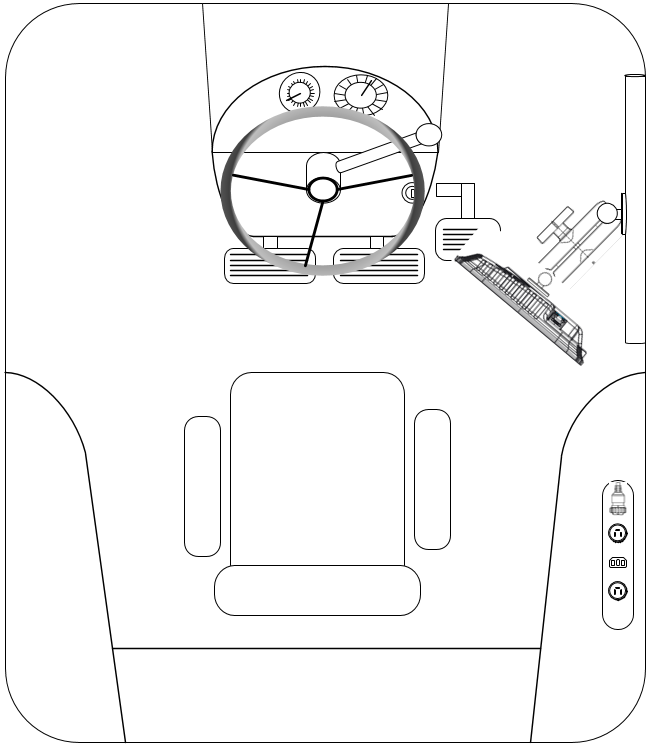
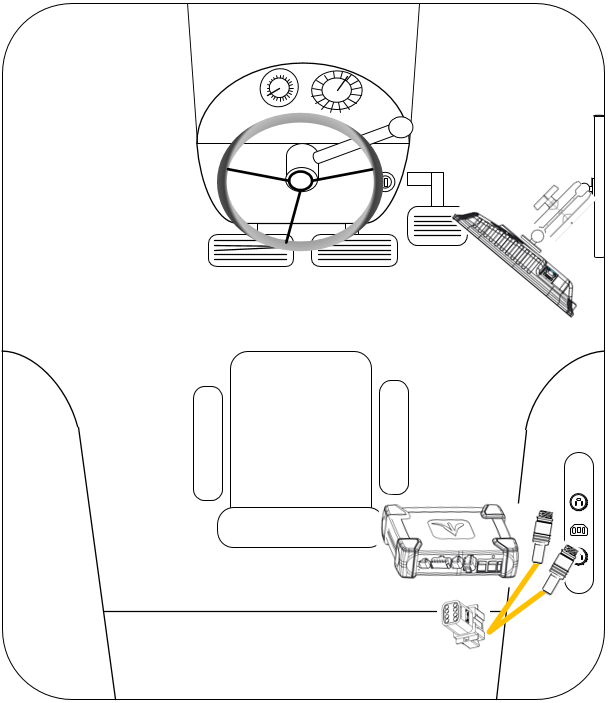
Step 1: Optimal visibility and interaction
Mount your display(s) anywhere in the cab that provides optimal visibility and interaction.
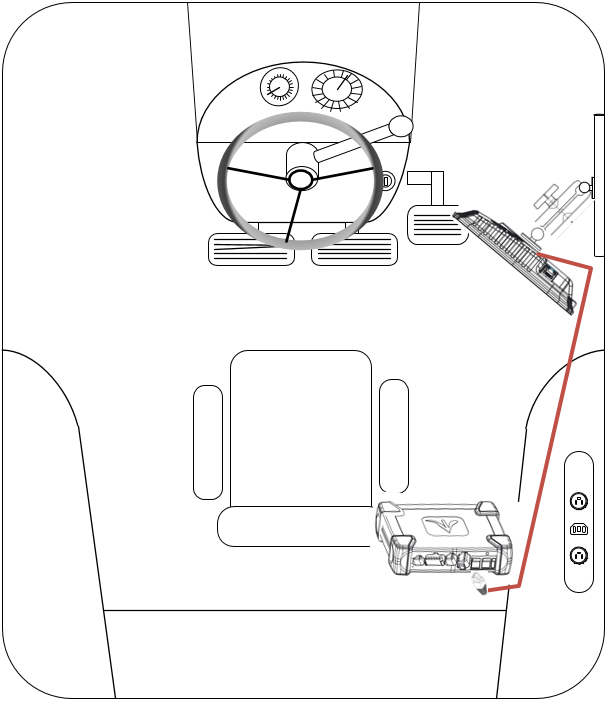
Step 2: Install Display Base Module (DBM)
Mount your Display Base Module (DBM) in any convenient and secure cab area. Plug provided ethernet cord(s) into the port and connect to the display.
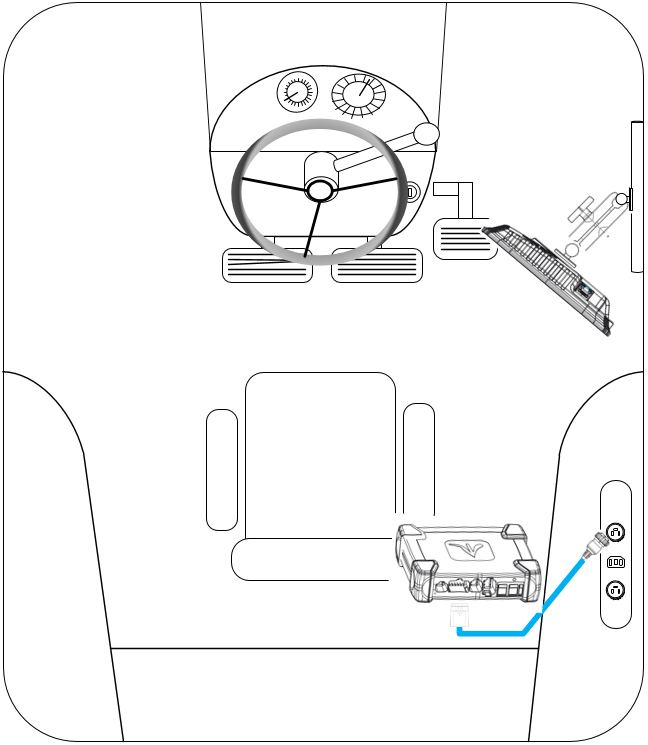
Step 3: Connect power
Connect the 725150 Power Harness to the DBM in the four-pin Deutsch connector, as shown. Then connect to the cab’s power source.
Need more adapters? Additional adapters are available to connect to different types of power ports.
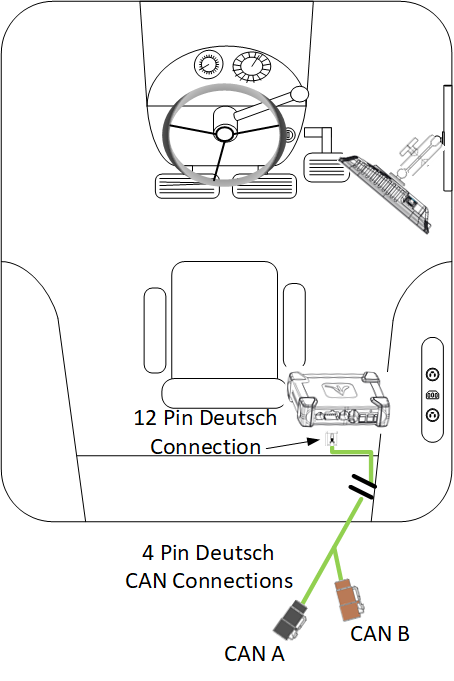
Step 4: Connect CAN harness
Connect an implement CAN harness into the 12-pin Deutsch connector on the DBM. Place the extra cable length through the cab harness port in the back window.
CAN A: Black Connector
If a Power Distribution Module (PDM) tool is installed, use CAN A.
CAN B: Brown Connector
If you’re only using a Smart Connector, use CAN B.
The 725935 Sensor CAN harness only works with CAN B.
Step 5: Connect speed harness
Connect the 725155 speed harness to the eight-pin Deutsch connector on the DBM; this gives you two four-pin round connections. Then, connect to the GPS adapter and radar adapter.
Using the system only for sensing? If so, the 725155 adapter isn’t necessary. Just plug the 725939 harness directly into the eight-pin Deutsch connector on the DBM.