Display Menu
Find display options and settings.
Updated March 25, 2021
Display Overview
Select the "Display" option in the Systems menu to configure display settings. If two displays are being used, each display has its own display settings that can be adjusted.
General
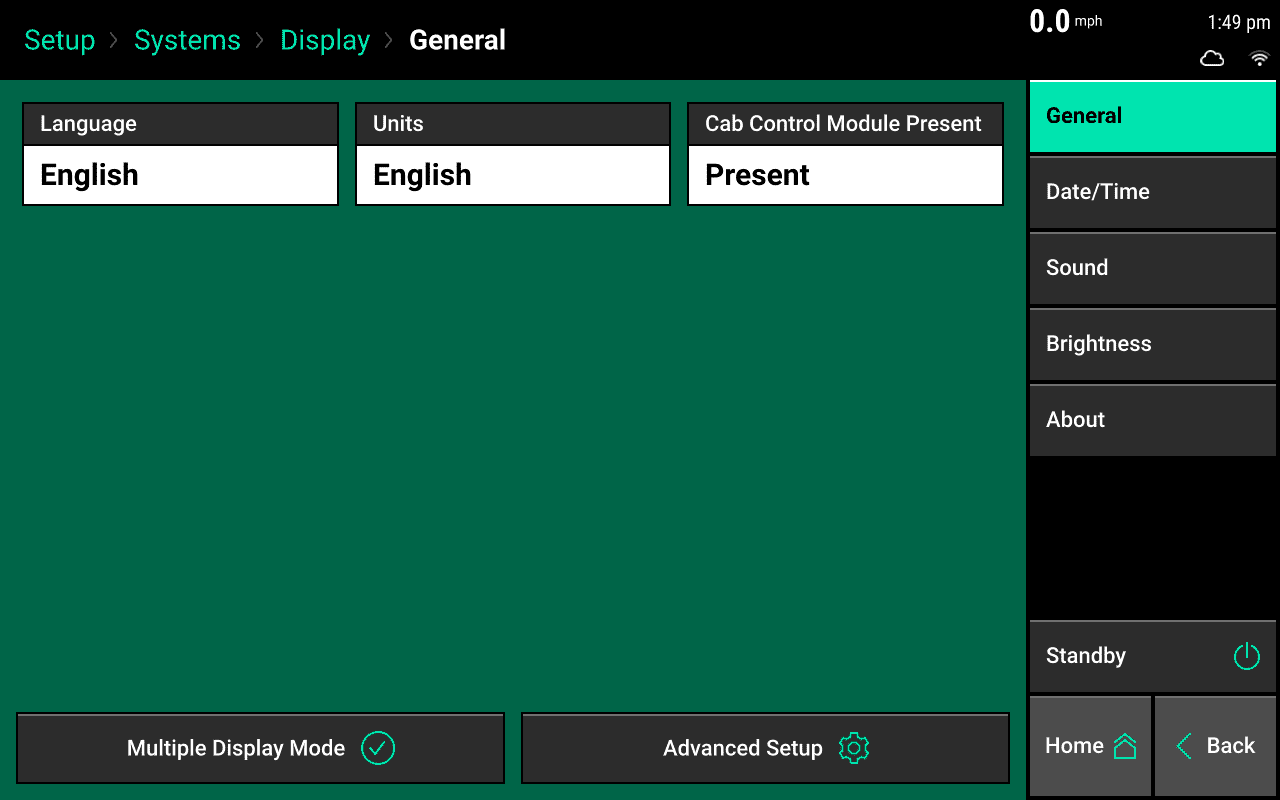
The General page shows information on the Display settings.
Language
Change the language of the display.
Units
Select this option to change between English and Metric units.
Vacuum Units
If Units is set to Metric, a Vacuum Units button will appear with the option to change the vacuum reading to either 'in' or 'kPA'.
Cab Control Module Present
If a cab control module is not connected to the display, change this to "Not Present." If using two displays, the display that does not have a cab control module must also change this to "Not Present."
Multiple Display Mode
Select this option to enable or disable certain notifications on the active monitor.
Options include:
- Alerts and Alarms
- Screen Jump
- Event Popups
Standby
Pressing the Standby button will darken the screen. The Standby option can be used when you would like the display to be dark, for instance moving the implement to a different field at night.
Advanced Setup
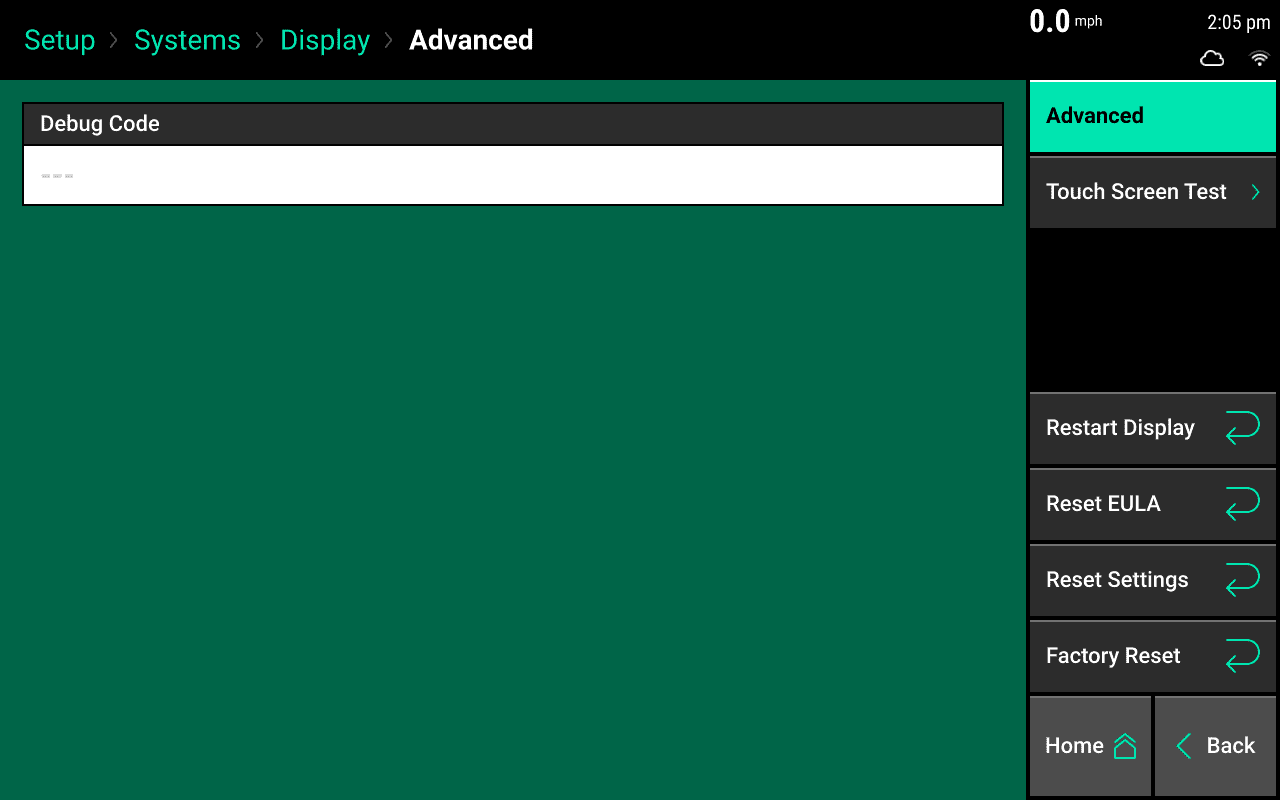
The Advanced Setup page is used to help debug or reset your 20|20.
Debug Code
- If a code has been provided by a Precision Planting Representative for a specific support issue, it must be entered in this location.
Touch Screen Test
- Test to see if all areas of the touch screen work correctly. In the test, touch the screen to "paint" it a different color. See if that area is responding to touch correctly. Hold a finger in a stationary spot for five seconds to exit the test.
Restart Display
- Restart the display screen only. The connected implemnt modules will not restart.
Reset EULA
- Reset the User Licens Agreement here. This resets the EULA so that it will need to be agreed to when the 20|20 boots up next.
Reset Settings
- Resets all display settings and all configuratiosn for tractor, combine, implement and control products back to the default.
Factor Reset
- This clears all data from the Display Base Module and resets all setttings back to default.
Date/Time
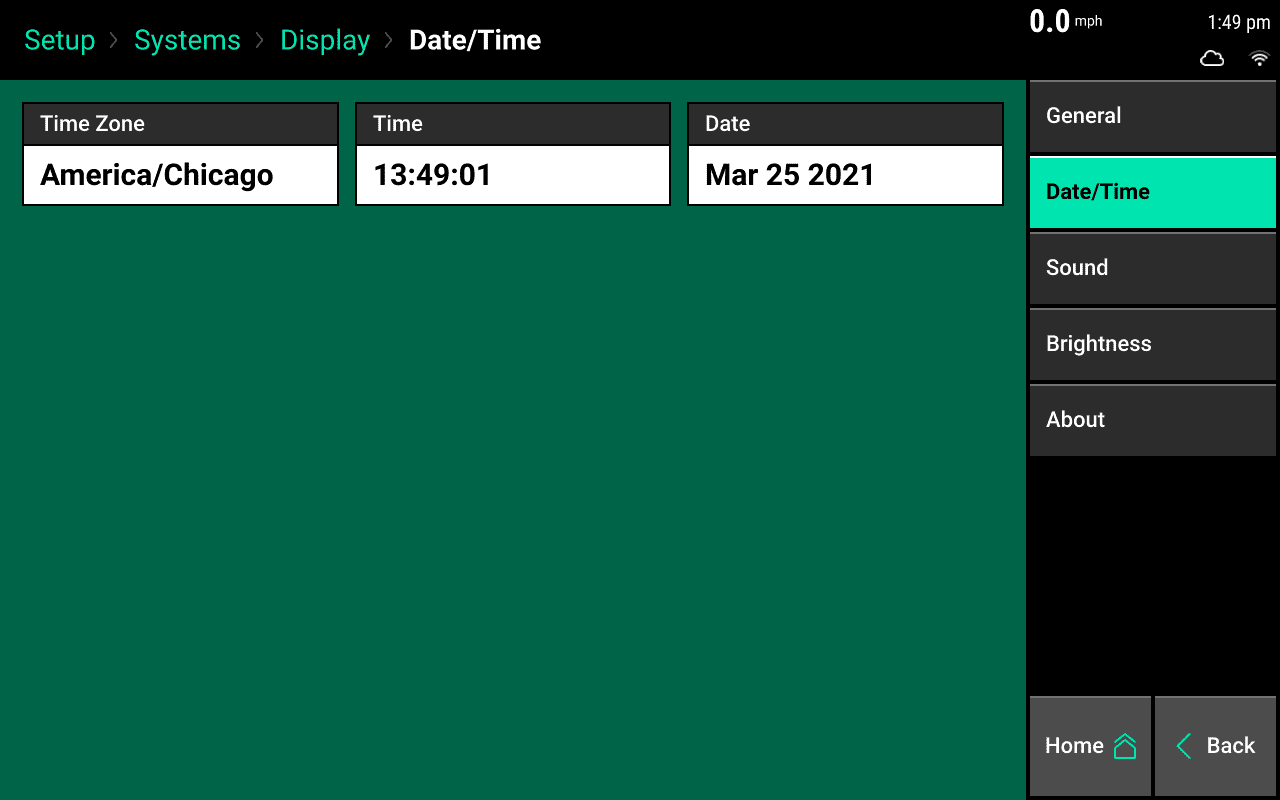
The date and time for the 20|20 are set by the GPS system that is connected.
If an adjustment is needed, adjust the following on the settings page:
- Time Zone
- Time, in standard 0 - 23 hour clock
- Date
Sound
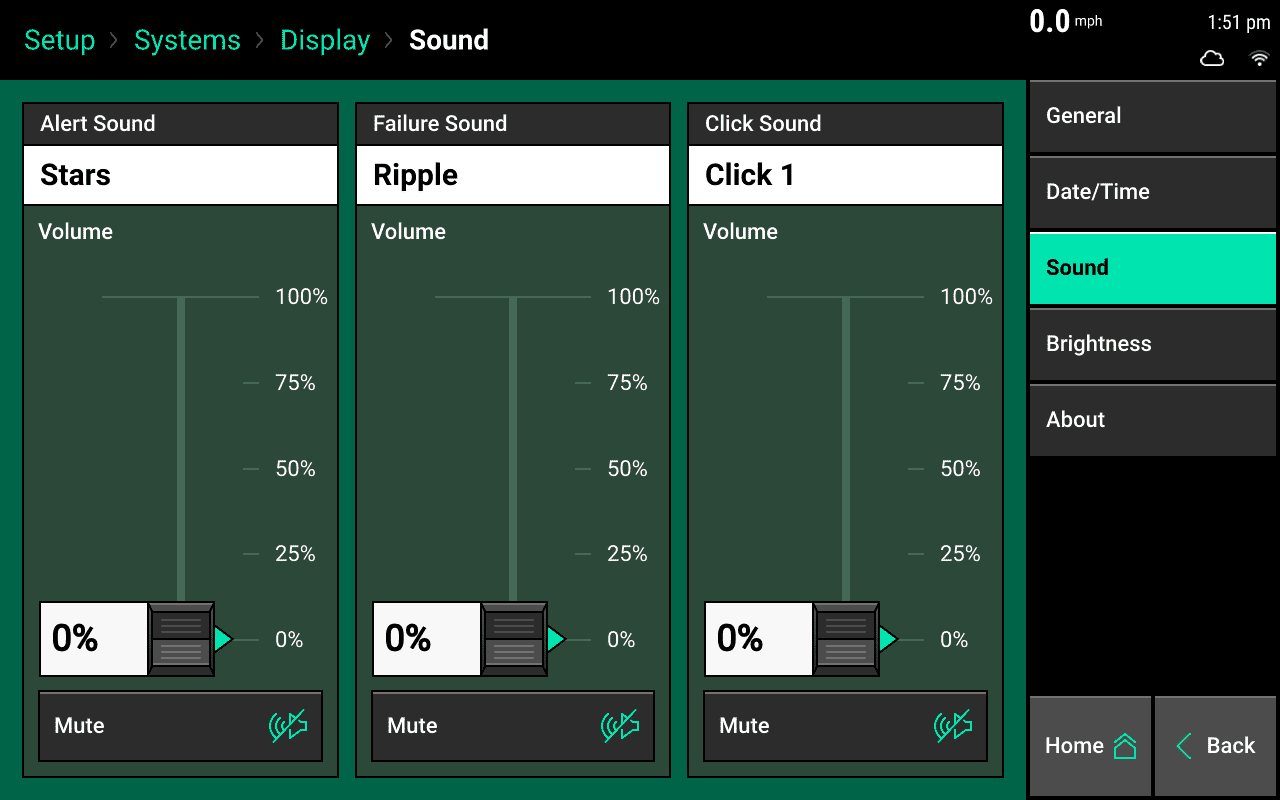
Configure sound settings by selecting the sound option in the navigation pane on the display menu.
The volume can be controlled using the volume sliders below each sound type.
Select each sound type for different options. A demo will play when selected. Select "mute" under the slide bar if you don't want sound.
Sound Types
Alert: This sound will play when an item is yellow on the home screen.
Alarm: This sound will play when an item is red on the home screen.
Key press: This sound will play when the touch screen is pressed.
Brightness
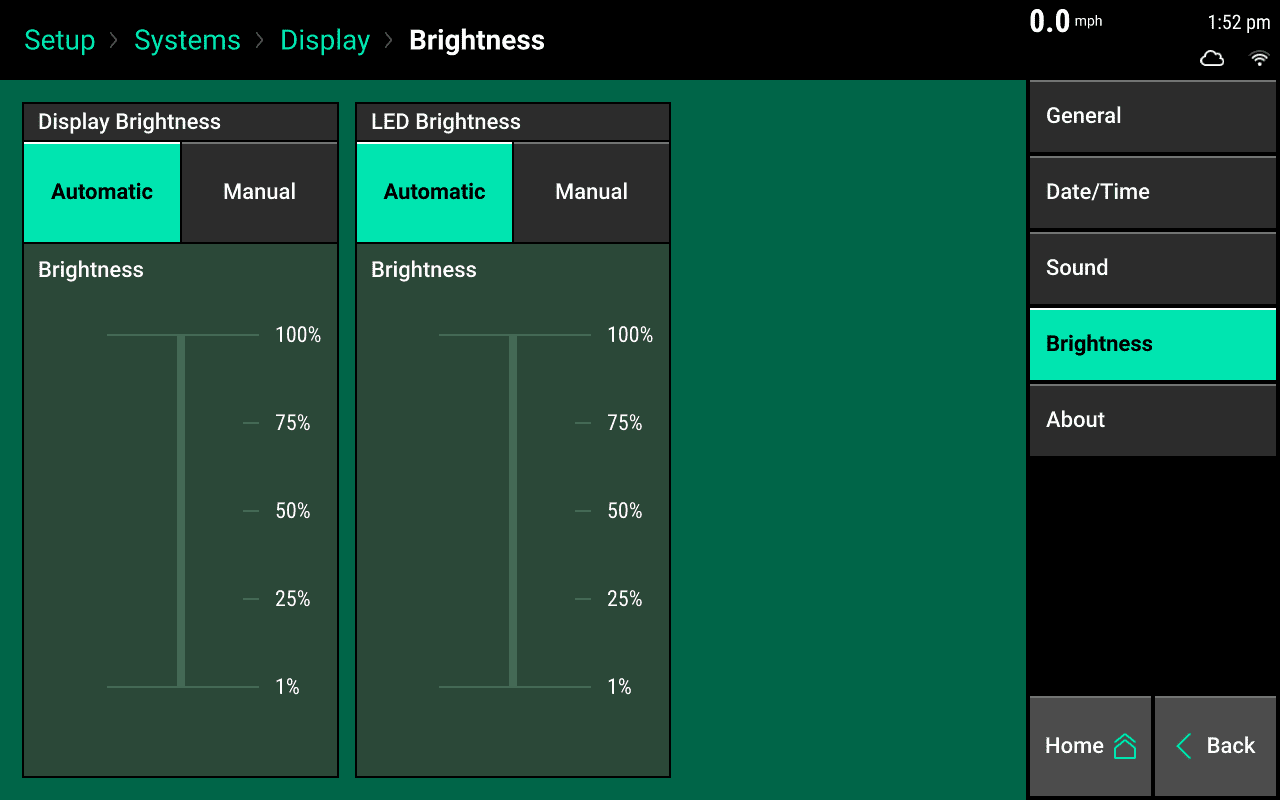
In the main navigation pane, select the brightness option. Configure display brightness and LED lights on the Cab Control Module (CCM): the switch box connected to the display.
Default Setting
The default setting for both display and LED brightness is automatic. Automatic mode uses an ambient light sensor to change the brightness for day and night.
Manual Setting
Select "Manual" to display a slider bar. Then, manually adjust the brightness.
About
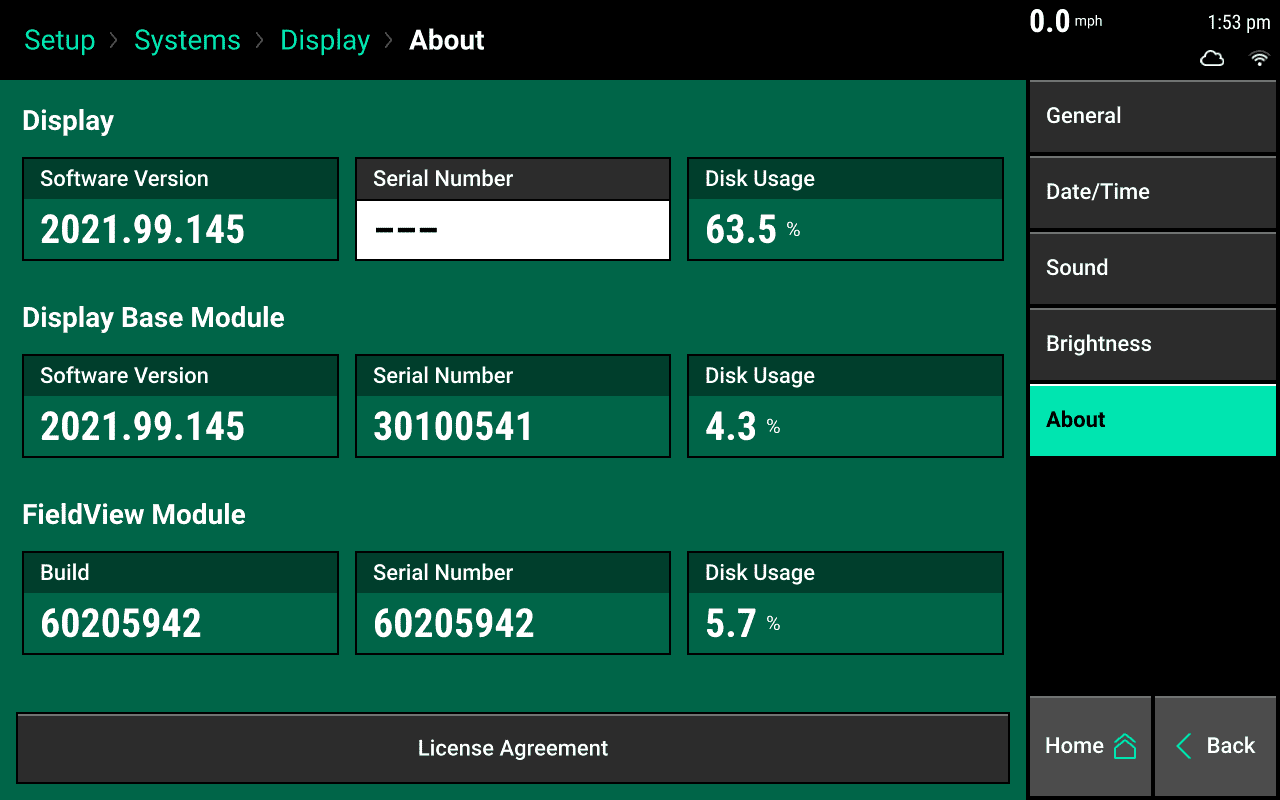
The About page allows you to view software versions and serial numbers for both the display, Display Base Module (DBM) and FieldView Module (FVM).
Access software update screen
Press the software versions to be directed to the software update screen. Serial numbers will automatically update when plugged into a display and DBM.
Disk Usage
Disk usage shows the percent of total memory being used.
License Agreement
View the license agreement. Press the "License Agreement" button at the bottom of the screen.
