Fields Menu
Discover what can be created, edited, and selected through the fields menu.
Updated June 29, 2020
Field naming
Fields are named by:
- Client
- Farm
- Field
Active fields
There will always be an active field; active fields consist of a client, farm, and field name. The active field is where all data and map activity are created for and stored under.
Editing fields
The client, farm, and field can be created and edited in the fields menu.
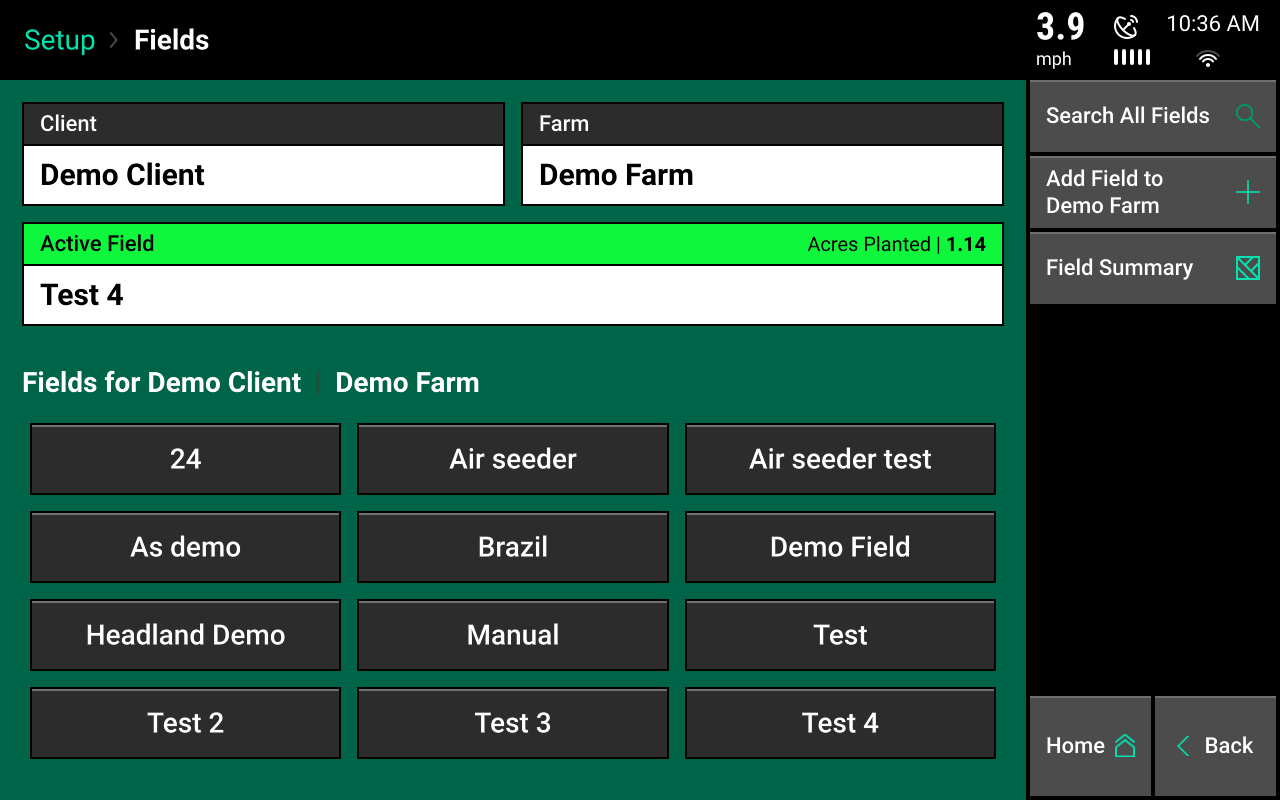
Select the fields menu from the navigation pane after pressing setup on the home screen:
- When the fields menu is selected, the active field name will be displayed with a green heading. The client and farm name of the active field will be shown.
- At the bottom of the screen, other fields for the same client and farm name will be shown.
To access the field setup screen for the active field, press on the field name:
- To access the field setup screen for a different field or to make a different field active, select the field name from the bottom of the screen.
- If too many field names exist to fit on the page, either scroll down by using a single finger or use the “Search All Fields” function.
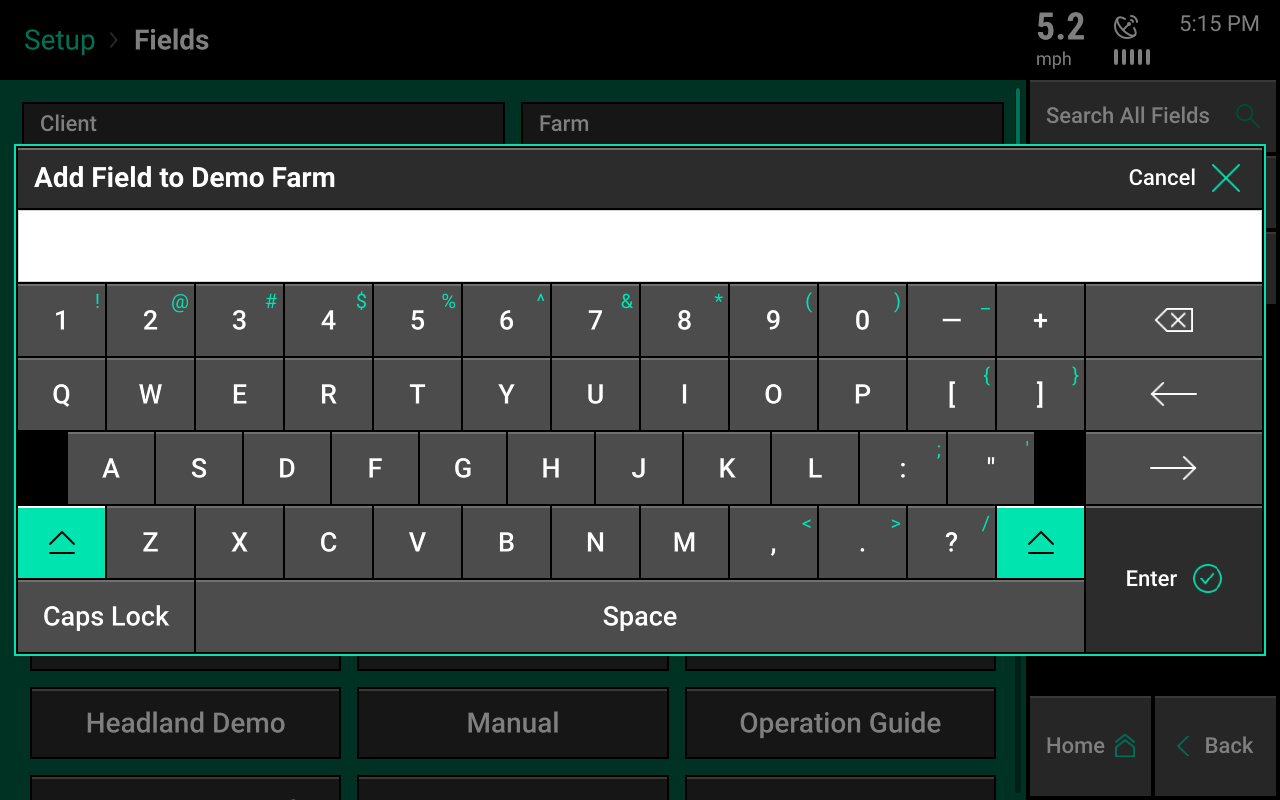
- Additional field names can be added under the same client and farm name; just select the option to add field to current farm name. Use the keyboard on the screen to type in a new Field name. When finished, press the check mark on the bottom right side of the keyboard.
View different field names
Select a different client or farm name to view different field names in six steps:
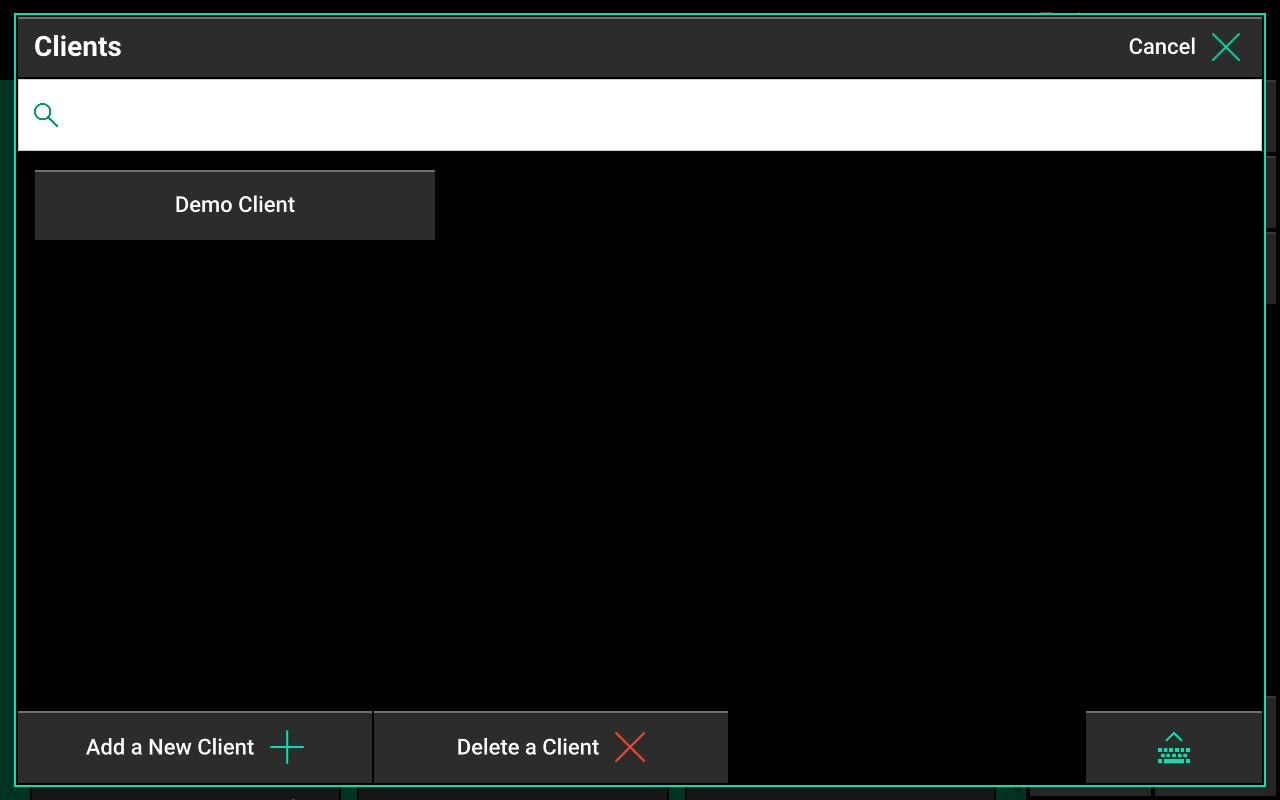
- Select either the client or farm name displayed towards the top of the page to select a different client or farm.
- When the client box is selected, a list of all client names is displayed.
- Client names can be added or deleted by using the options at the bottom of the screen.
- Select the keyboard icon in the bottom right to search for an existing client name.
- Select a client name listed on the screen to view the farm names under the selected client name.
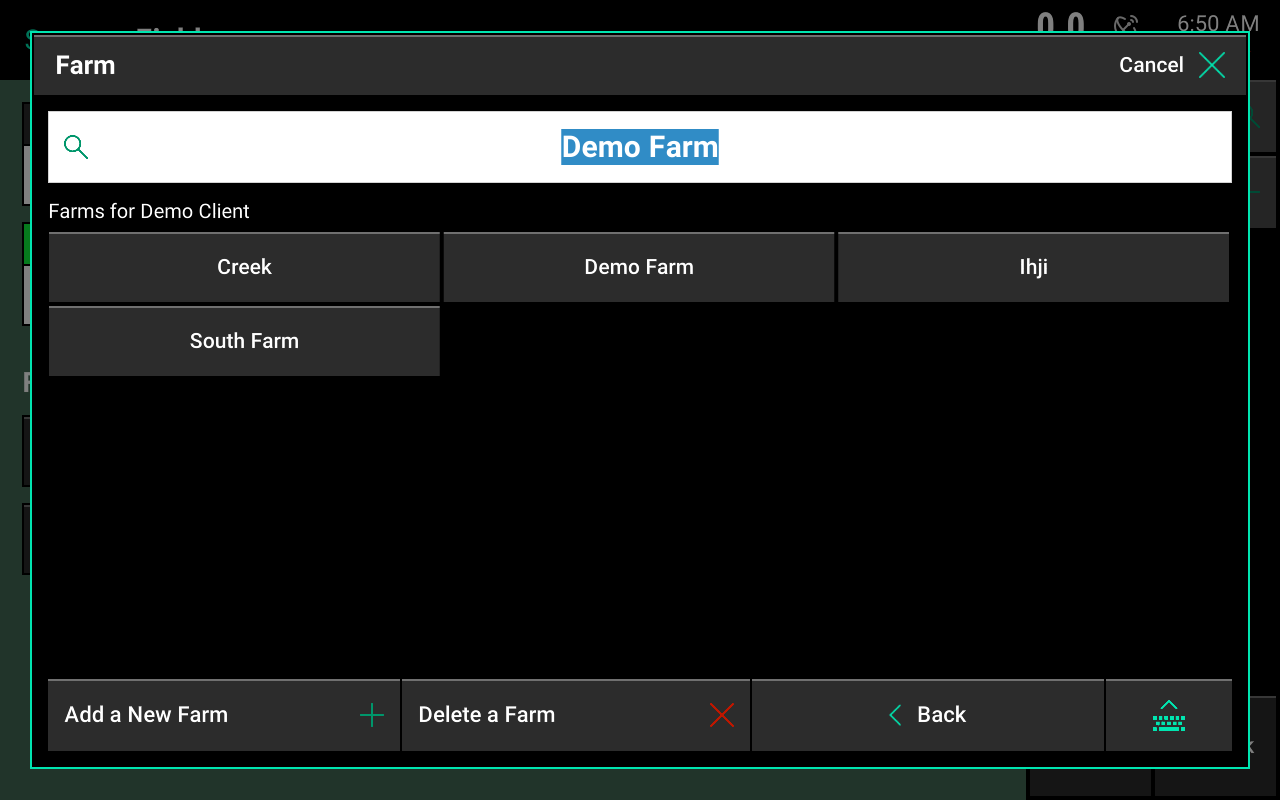
- Once a client name is selected, a farm name must be selected. All farm names under the selected client name will be displayed.
Farm names
Farm names can be created and deleted in three steps:
- Select the appropriate Farm name to view all Field names under the selected client and farm name.
- The Field Setup screen will appear when a Field name has been selected (including the active field name.
- Select “Make Active”: this means data and maps will be stored under the field name.
If the large button says “Done” then the selected field is already the active field.
Delete field names
A field name can be deleted by selecting the “Delete Field” button. Data for the field will not be deleted and can still be exported off the display. If coverage already exists for a field and products like vDrive remain swathed off, select “Delete Coverage” to clear all coverage from the selected field.
Boundary and prescription files
Boundary and prescription files can also be assigned to fields on this page. Boundary and prescription files must be in a shape file format and include the .dbf, .shx, and .shp file extensions. Shape files can be imported in the data menu.
Setup boundary and prescription files in three steps:
- Select the boundary file button to view a list of all imported shape files.
- Choose the appropriate boundary file for the selected field.
- The field setup page will change with the type of products configured.
The 20|20 can use prescription files for seeding (vDrive), liquid application (vApplyHD), and insecticide (vDrive Insecticide).
Only one prescription can be used for one application at a time. If using a prescription for more than one application, the prescription file must have attributes built into it for each product—like attributes for seeding rates, liquid rates, and/or insecticide rates.
If using a prescription for multiple applications:
- Select any prescription box to view a list of all imported shape files.
- Select the appropriate prescription name for the field.
- After selecting a prescription, an attribute must be assigned to each rate section that has been configured. For example, only one attribute can be assigned per vApplyHD system installed. The same attribute can be assigned to multiple rate sections.
The option to assign a prescription will not be available unless a seeding/liquid/ insecticide system is set up on the display. Refer to the product-specific Operators Guide for how to configure each system.
Advanced field setup
Find the advanced field setup option at the right side of the field setup page.
Advanced field setup includes:
- Tillate
- Field number
- Field acres
This is optional information that can be entered for record keeping.
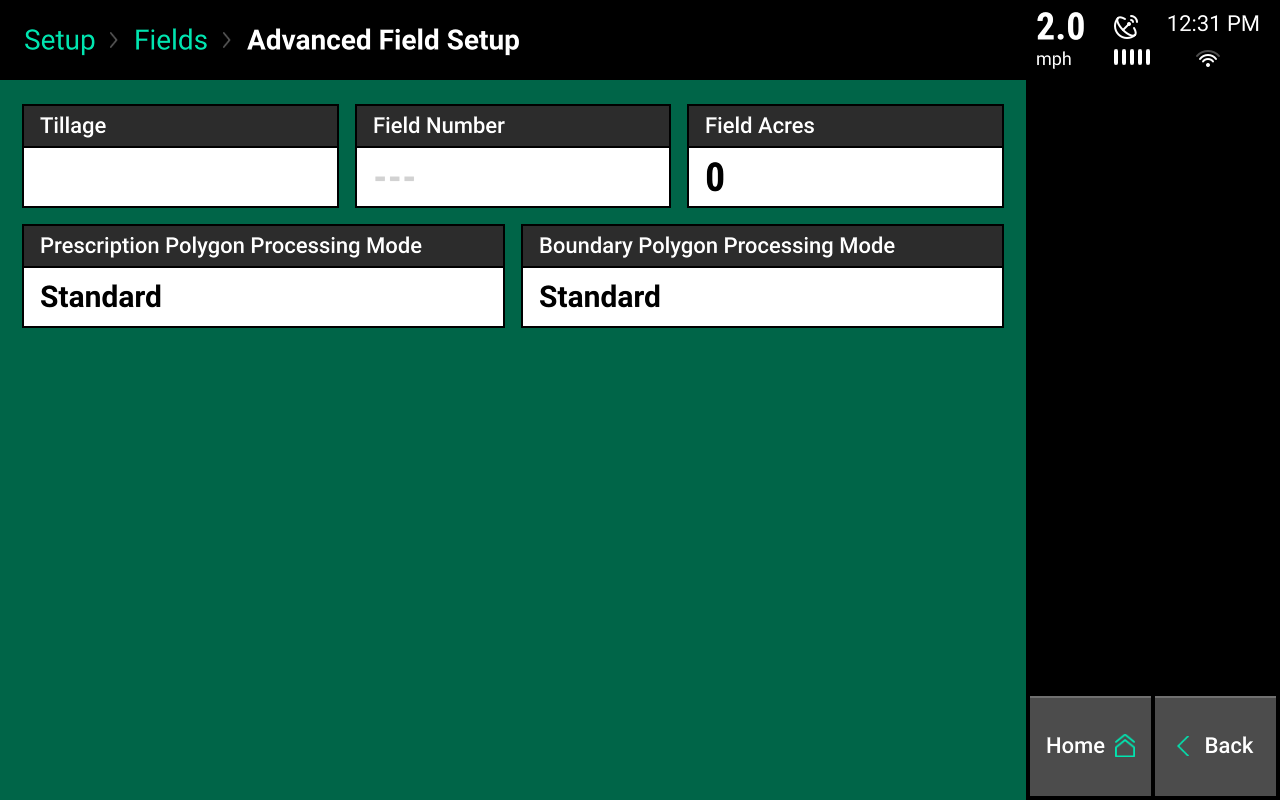
Prescription and boundary polygon processing
Prescription and boundary polygon processing modes can be adjusted to make the display read imported shape files differently. The standard mode works for the majority of shape files.
Selecting “All Exterior” will read all polygons within the shape file as an external boundary of the field. This mode helps the system read shape files that were not saved in the typical ESRI file format.